If you've arrived from Terry's blog, you're right on track!
 This month the Technique Blog Hop is focusing on "Lovely Layers." No, that's not what the fashionable people wear in Chicago when it's 50 degrees below! Here we're talking about layers of paper, ink, or even...Liquid Glass.
You'll find Liquid Glass under the tools section when shopping on my website. You may have used it for one of our National Papercrafting Month specials to secure flowers. For years, CTMH Consultants have been using it's adhesive super powers for even more, like repairing the sole on your shoe during convention! If you haven't seen my favorite example, just ask! It works great for securing ribbons on mini-albums. The opening allows you to place a fine line for attaching twine, or a dot to keep a sequin in place.

However, this amazing product is more than an adhesive, Did you ever use it as an EMBELLISHMENT? As the name implies, you can use it to replicate glass on your projects. It forms a clear covering over an image. A few months ago, you may have seen snow globes with Liquid Glass. You can cover the entire image or highlight selected parts. It can be LAYERED on paper and complements. Above, I used it on the lens of the glasses from the Heart Happy complements.


You can also make a sheen on water surfaces. These pictures show an old pool layout where I used the Liquid Glass on stamped water drops.

I mentioned using this amazing product with 3-D flowers. On this year's special, it was suggested to add a thin LAYER of Liquid Glass to the leaves, to give them a sheen similar to real Magnolia leaves.
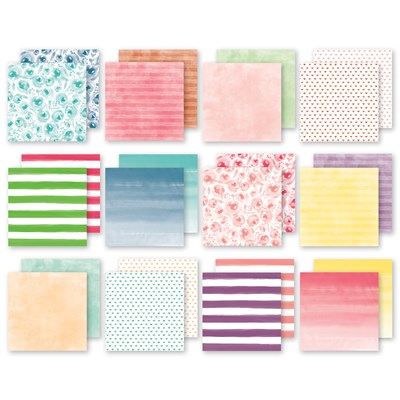
For my blog hop artwork, I made a card using the Egg-stra Special bundle and Decorative Borders thin cuts. The color combination came from the So Much Happy collection.

I used two Easter Eggs on the card, but in preparation I LAYERED the Liquid Glass several ways:
- I colored some areas with Shin Han markers and used Liquid Glass to accent them.
- I covered the entire image.
- I highlighted stamped spots.
- I colored some areas with Shin Han markers and used Liquid Glass to accent them.
- I suggest using Intense Black ink with Liquid Glass. Some ink and marker colors may run, usually the darker shades. By working with one section at a time, this is easily avoided.

I like to cut my die shapes before I stamp them, but I did save one egg and cut the shape after it was covered with Liquid Glass. I had to use washi tape to hold the die in place, but there didn't seem to be any other issues. One more FYI: Liquid Glass may change the color of dye ink. I didn't notice this with any of the colors I used, but I remember it being an issue with some of the retired reds (they looked orange).
When working with Liquid Glass, use the All-Purpose Mat. Not only will it protect your work surface, but your project won't accidentally become glued to anything else. And, any spillage will pop right off after it dries!
When working with Liquid Glass, use the All-Purpose Mat. Not only will it protect your work surface, but your project won't accidentally become glued to anything else. And, any spillage will pop right off after it dries!

You may have noticed that the eggs curled a bit from the Liquid Glass. This didn't cause any problems, in fact, one of my "failures" may give someone else an idea for a new technique. This is another nice feature of Liquid Glass, it stays flexible, not brittle, after drying. The piece to the right has MANY individual LAYERS of Liquid Glass and was purposefully bent, it didn't become this deformed from the application of the product.
Don't you just love our two-toned cardstock?! I used both shades of Clover for the LAYERS of "grass" and the lighter side for both egg shapes. I used the Peach ink on the lighter side of the Peach cardstock to give the tone-on-tone stamping more contrast.


Did you see the bunny's paws? I made these using the ears stamp and thin cuts, then I added little lines with a journaling pen. I also used the egg die and put them through the Cuttlebug to trim them to size.
Thank you for stopping by! Please leave some love in the comments below before continuing to Melissa's page. (She also has the list of all participants in case you get lost hopping around.)
Products used on Easter card:
- Z697 Liquid Glass
- Z4262 Egg-stra Special stamp and thin cuts
- Z4241 Thin Cuts-Decorative Borders
- X6027 White Daisy Cardstock
- X5986 Mint Cardstock
- X5995 Clover Cardstock
- X5988 Peach Cardstock
- X6008 Lemon Cardstock
- X254 Value Pack card bases and envelopes
- Z2461 ShinHan™ Touch Twin™ Peacock Green Marker BG61
- Z4189 Intense Black Exclusive Inks™ stamp pad
- Z6502 Peach Exclusive Inks™ stamp pad
- Z2895 Lagoon Exclusive Inks™ stamp pad
- Z1979 Marvy® Uchida® LePen™ Journaling Pen