Showing posts with label Season Mix-In. Show all posts

Saturday, February 15, 2020

Color Your World - Technique Blog Hop


Thank you for joining us in our monthly Technique Blog Hop. For February, we're going to "Color Your World." Go from blog to blog by following the links to see all the coloring ideas we have to share. 

If you've arrived from visiting Darlys Recker, you're in the right place. If you get lost, you can find a list on Melissa's blog. 


I think when we talk about "coloring" most people have images of pencils and markers (or crayons), but there are many other ways to use color in your art that don't require "staying in between the lines." First is a technique we call paper piecing. Instead of coloring part of an image, you stamp the image twice, once on plain paper, and a second time on a print or coordinating color. Here I used the crazy lady from "You're Not Old" and cut her skirt from the plaid paper in Celebrate Today paper pack.  (Don't forget, this month during Stampaganza you can save up to 50% on stamps or stamp/thin cut bundles!)


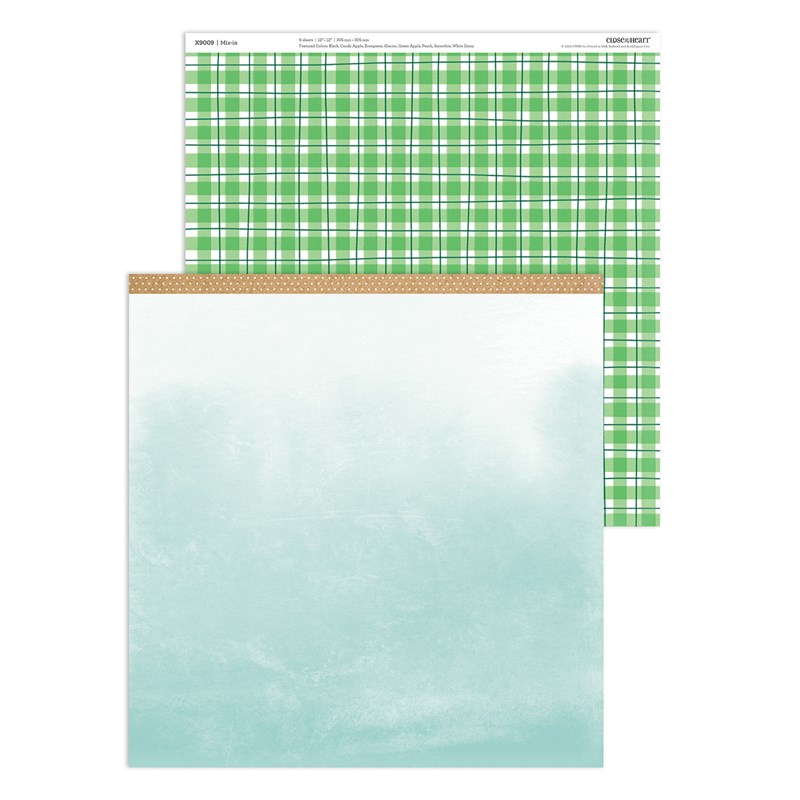
I love that our paper packets sometime include sheets that are a piece of artwork in themselves. Here is one from the Nov/Dec Mix In pack that looks like a watercolored sky.
Mix-in Paper Packet

There are several watercolor patterns in the Celebrate Today paper pack too: one is an all-over monotone look and the other is a background sheet with several rainbow colors.


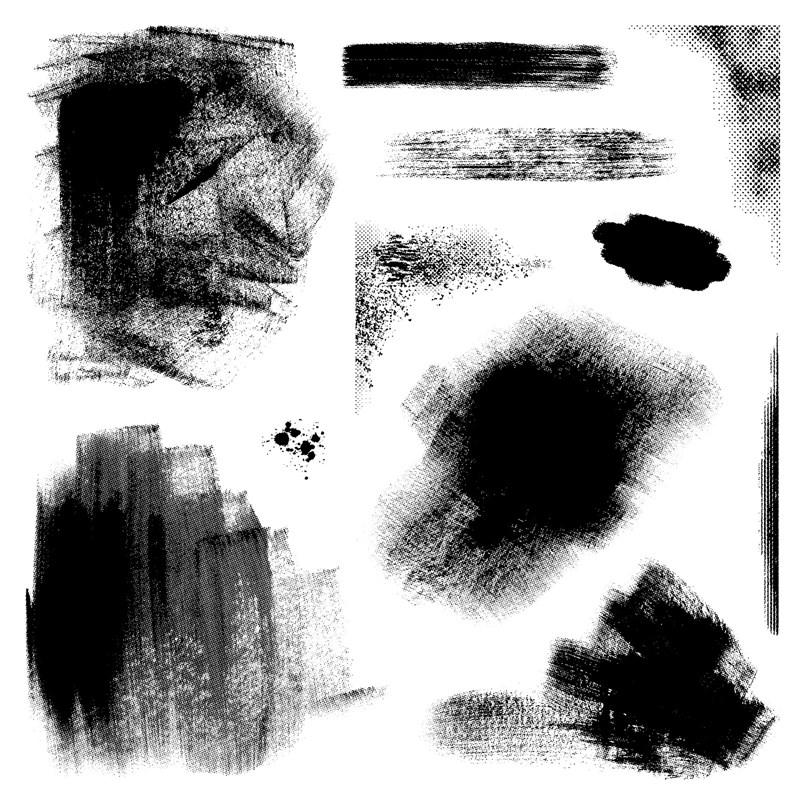
Another way to faux watercolor is with the "Strokes of an Artist" stamp set. Using a regular ink pad, you can stamp texture that looks like it was painted.
Strokes of an Artist

The Cardmaking Workshop Kit for Celebrate Today teaches a number of methods to add color without actually "coloring" in traditional ways. These include: using watercolor paints, stamp rolling, tone on tone stamping, and stamping on colored cardstock.


If your stamp is relatively symmetrical, you can use the wrong (flat) side to "color" then add the detail with the regular (bumpy) side. 


I hope this post gave you some "out of the box" ideas for coloring! Please leave a comment before hopping on to see what Lauren has to share.

Saturday, December 15, 2018

Love of Color - CTMH Technique Blog Hop


Welcome to the December Technique Blog Hop. You may have arrived here from Lauren's blog, just keep following the links, hopping from blog to blog until you complete the circle. Please leave comments; we really appreciate them!  If you get lost, a complete list of CTMH consultants participating this month can be found at the end of  Melissa's post, which is also your next stop!

product imageSince we're nearing the end of the fall/winter holiday season, I wanted to jump ahead and bring your attention to a stamp set that may have escaped your notice. You Have My Heart is on page 101 of the Holiday Expressions catalog. It may be a little early for Valentine's but this is the last month to order from this book and I don't want you to miss out! The main images in this set are large, and the example is a scrapbook layout, but it still works for cards. It also has a nice sized, non-fluffy "Happy Valentine's Day" sentiment.
I was thinking pink since February is one of the few times a year I get to use it, so I looked in Love of Color for the section with Ballerina,  new to the palette this year. The four color suggestion is Ballerina, Sugarplum, Carolina and Pewter. When this guide was introduced at convention, they emphasized suggestion. It's not set in stone. We were encouraged to swap one shade for a similar one, so I did! Instead of Carolina, I used Mint (see the three color idea on the next page?). And I didn't stick to Pewter, just grey in general.

The card design is Pattern #7 from Make It From You Heart Volume 4 - Cardmaking (MIFYHV4#7). I enjoyed mixing the papers together for this card, something I almost never do. I plan to do mostly mixing with the papers from the next Seasonal Expressions. I pulled the Mint B&T from Oh What Fun and the Wood Grain is from the Seasons Mix-ins. Do you recognize the heart border? It's a Zip Strip, also from Season's Mix-ins!


When I was making this card, I thought I would have to choose between the floral pattern and the sentiment to go on top of the heart shape. But I was able to layer ALL 3! The solid heart shape is stamped in Ballerina. Next, I stamped the floral design in Sugarplum and finally, the sentiment in Pewter. Remember, when using large, solid stamps, it is especially important to use the "squishy thing" (or VersaMat™) under your paper when stamping.

The first mat is Sugarplum glitter paper. Did you know our glitter paper doesn't shed? You won't be covered in fairy dust after working with it. I know, that's not nearly as much fun, but some people have an issue with it. Another tip, save an old cutting blade to use just when cutting glitter paper. I'm not sure the glitter paper dulls the blade, but you don't need a nice, new, sharp one for glitter paper, so why risk it? I also have a separate one for Kraft paper. It's easy to label the blades with a Sharpie. I always pull my blade toward me on the SureCut™ Trimmer. Someone, maybe Fiskars, told me NOT to cut back and forth as it wears down the wire. I also like to know which way I am using the blade, so when I switch, or it jumps out, I know which way to put it back.


On the inside I stamped the sentiment and some of the smaller stamps. I colored the floral spray with the Sugarplum Shimmer brush and then picked up Mint with a Waterbrush for the leaves.

Thanks for stopping by. When you are done here, hop over to Melissa's blog and check out her idea. I'm sure it's brilliant!


If you aren't already working with a consultant, you can shop here.


Here's a list of the products I used:
  • D1796 You Have My Heart stamp set
  • Z6501 Ballerina ink
  • Z6500 Sugarplum ink
  • Z2832 Pewter ink
  • Z4189 Intense Black ink
  • Z6503 Mint ink
  • Z3224 Waterbrush - small
  • X7238B Oh What Fun Paper Packet
  • X9000 Seasons Mix-in Paper Packet
  • X6027 White Daisy cardstock
  • X5994 Ballerina cardstock
  • Z4188 Sugarplum glitter paper
  • Z4210 Shimmer Brush - Sugarplum
  • 1772 Ultra-Thin Glue Dots
  • X254 White Cards & Envelopes value pack
  • Z1836 Non-stick Micro-tip Scissors
  • Z3326 Tombow® Permanent Adhesive
  • 9045 Love of Color guide (don't forget an Everyday Life™ album too)


Monday, October 15, 2018

Paste-fully Creative - CTMH Technique Blog Hop

Welcome to my first entry in a Blog Hop! And welcome to The Scrap Buzz, new visitors!!

If you have arrived here from  Maz Wood: aMAZing Close to my Heart Creations, you're in the right place. If you get lost, a full list of participants can be found here.

Theme Photo for Paste-fully Creative CTMH Technique Blog Hop
In case you missed it, there are several options for purchasing texture paste. The products are offered separately, or as part of the Boutique Deluxe Bundle which includes the Palette Knives, larger 3.9 jar of Opaque Matte,  a package of Stencil Sheets and a Sugarplum Shimmer Brush. You save 10% by purchasing the bundle.

We also offer a Texture Paste Trio of 1 oz jars in Transparent Matte, Transparent Gloss and Opaque Matte.


I was planning another technique and a school theme, but before I finished with paper selection I had a new idea. Could I make a hand print with texture paste? The answer is YES!

Scrapbook page with Kindergarten school photo and Texture Paste handprint

Texture Paste How To

I played with several variations, but a straight forward method was the best choice. Initially I was looking for a fine image like what you would expect with ink, similar to a finger print. The paste gives a fun textured image similar to paint.
    close-up of child's handprint made with Texture Paste on a scrapbook page
  1. "Butter" your hand with one of the Palette Knives, just like you would do bread. This should be a medium thickness. About half will transfer to the paper; the other half will remain on your hand.
  2. Just like stamping, press your hand straight down and after a few seconds, remove it straight up.
  3. Happy with your image? Texture Paste is great for us perfectionists because it's never going to be "perfect," so unless you're missing a finger, it's probably good to go!
  4. Scrape the excess paste off your hand with the Palette Knife or clean with a baby wipe, then wash thoroughly with soap and water. The paste is non-toxic in addition to acid-free. 
  5. Don't forget to replace the lid on the jar and clean up your knife and work area while the paste is wet. Set your project aside to air dry. I let mine sit overnight. 
Note that I left the paste white, straight from the jar. If you mixed the paste with color, you might have a colored hand for a few days!

close-up of embellishments used on Kindergarten school picture scrapbook page
Close-up of Cricut-cut shadow images title raised with 3-D foam tape


There are some tips below that cover a few issues I had when putting this page together. Please leave a comment before you head over to see what Vandra has to share.

Tips for Easier Tool Use

Cuttlebug Tip:  At the Annual CTMH North America Convention this year, we were told that on the Thin Cuts notebook edge it's hard to tell which is the positive and negative images. So, it's helpful to mark your die once you know which is which. (BTW-Sharpie will come off onto your C plate.) Also, to repeat the cut on a longer piece of paper, overlap just the very ends of the die. You may wish to use a piece of Washi Tape to hold things in place. I also suggest you start in the middle of the paper, then fill in each end so you don't have a little short piece to cut.

Tip for using the notebook edge border thin cuts from CTMH on a Cuttlebug

Tip #2: The Texture Paste can cause your paper to warp. You may be able to prevent this by using Washi Tape again. Attach your paper to the All-Purpose Mat. I didn't remember that so my paper was no longer flat (left side).

before and after pictures showing fix for warping caused by Texture Paste

I fixed it by spraying a little water on the BACK of my paper with a Spray Pen. It was moist, not wet. Then I washi taped it to my Versamat and let it dry. That did the trick (right side)!

Thanks for stopping by!

                  Tamara


Products Used