Showing posts with label MIFYHV4. Show all posts

Tuesday, February 15, 2022

Stunning Stencils - CTMH Technique Blog Hop


 Whether you arrived from CatScrapbooking or just stumbled upon us, WELCOME to TheScrapBuzz blog and this month's Technique Hop. We are using stencils for February; there are several new ones in the Core Catalog.  Follow the links to hop from blog to blog for techniques, tips, and artwork!
 
If you get lost, find broken links or have other issues, you can find a list of all this month's participants on Melissa's page. We have over a dozen CTMH Makers participating this time!  Be sure you are commenting so they know you appreciate their efforts and continue to share their projects!

I spend several days of quality time with one of three new Card Front Stencils, Pack #3.


Did you see this post on the Make It From Your Heart blog? I was having trouble with the diagonal stencil until I watched this video from that post. One thing I'll suggest is when you are sponging with our Exclusive Inks, is to use the corners of the stamp pad.  We usually ink stamps in the middle of the pad. Whenever I use small stamps, or sponges, I try to use the corners. As you'll see in Karen's video, press the sponge into the pad to absorb in, then pounce the sponge when the stencil wants to "wiggle."

I made my own background paper with the diagonal lines then featured it with Pattern #18, from Volume #4 of Make It From Your Heart.


In between the lines, I stamped the little bee from the Sweet As Honey - Cardmaking stamp set.  


If, after completing this hop, you can decide which stencils to add to your crafting arsenal, ask your maker about bundles and how you can get them half-price. If you don't have a Maker, I would be happy to assist you!

After you leave a comment, hop over to see what Wendy has created this time. Thank you for stopping by!

Products Used:
Cardstock:  Black, Shortbread, Sundance, Mink
Exclusive Inks: Black, Sundance
Sweet as Honey paper pack


Monday, March 15, 2021

Altered Wooden Shapes - CTMH Technique Blog Hop

Here we are again for another installment of the Technique Blog Hop by Close To My Heart Makers! If you've arrived from Kim Loewen's page, you're in the right place!


This month we are playing with our wood shapes. DID YOU KNOW that Close To My Heart makes their wood items in-house, in Utah at their World Headquarters? These items come in all sorts of fun shapes and sizes! Some coordinate with paper suites, some are versatile for almost any project, and some are projects on their own!


I finally decided to use the Wood Buttons. I've had these for ages, but I don't know if I ever actually used them. Well buttons > sewing which lead me to stitched Thin Cut dies. Before I was promoting paper, I was a quilter, so I wanted to make a quilt card. That reminded me of our fun Craft On suite. Several items from that collection are available in the Online Only section. The paper is no long available, or is it?? If you haven't seen our 6x6 stacks, you are in for a treat! 


These stacks feature an assortment of past pattern papers SHUNK, not just cut down, to 6x6 size!! 


They are like baby paper packs, and adorable like babies! But these are also big babies! You get 48 sheets!!  We have two collections available right now, Bright Stack (which includes seven of the Craft On patterns) and Holiday Stack.
Don't you just love them?!

The pattern is #11 from Make It From Your Heart, Volume 4. I haven't used this one very often because there's not much to it, but breaking down the single large shape into a collection of smaller pieces made total sense this time. So that's the short story behind the long, over-thought process of how my card came to be. 


Thanks for stopping by! Please leave a comment before hopping over to see what Melissa Robinson is sharing this month. She also has a complete list of participants in case you get lost. 

PRODUCTS USED:

Friday, May 15, 2020

Stencil It! CTMH Technique Blog Hop


Welcome to our May blog hop! You've come from the blog of Hayley Dyer. To continue the Hop, just follow the links from blog to blog until you get back to where you started. If you get lost, you can find a list of participants on Melissa's page. This month we are highlighting stencils. That may sound old school to you, but I'm sure you'll find new ideas for personalizing your art work! Before showing you my project, I have an announcement to make:

...And the award for the Official stamp set of the Pacific Northwest 
goes to..."Make a Splash!!" {Applause}

Make a Splash
I knew I needed this set as soon as I saw it in the May/June catalog. It is pretty adorable even if you don't live in a rain forest. Don't you think?? Plus the sayings are appropriate for almost anyone, anytime and I was surprised by how perfect the set is for these crazy pandemic times. If you need more rainy weather stamps, check out "When Skies Are Grey."

I wanted to showcase this set and was also inspired by the Blue Skies cardstock, part of May's special for National Scrapbooking Month. I love the UV coating and wanted to make something similar. 

Can you see the raindrops? 
This card pattern is #7 in Make It From Your Heart Volume #4. I always think rain boots are yellow; too much Curious George as a child I guess! I paired it with one of the papers in Stitched Together. Do you see anything stitched or quilt-related in this design? That's what I love about our B&T Duos and paper packs: any pattern that highly themed is usually universal on the reverse side. Can you see the upside-down raindrops on this paper?? I think they're supposed to be flower petals. That would be something else I could do with my stencil!


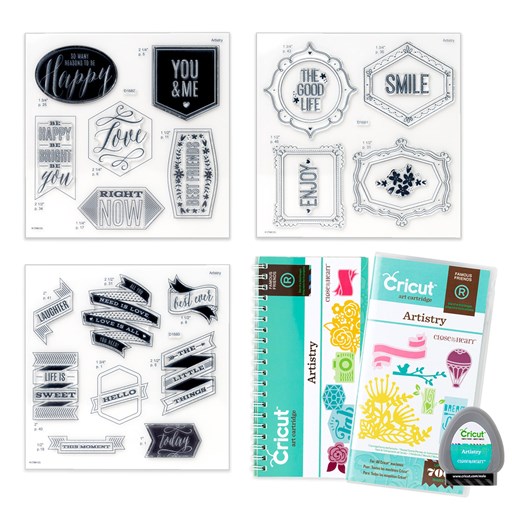
Here's how I made my card:  The rain drops are from an overlay image in the Cricut Artistry Collection.  In Design Space, I added the image then used [Contour] to hide the outer line of the image; this gave me just drops to cut out. I used [Duplicate] to copy the image, next I used [Contour] again to "remove" a few drops at the bottom. I made a copy of the edited image with [Duplicate]. Now I had three images, the original, and two edited copies. I lined these up by utilizing the [Position] coordinates. Finally, all three images were "connected" with [Attach] to cut as one item. When cutting the stencil, I made sure to move it over so that there was at least 1" around all three sides when finished.

Before putting the raindrops on my paper, I stamped the two sentiments in Sapphire ink. I rubbed the Anti-Static pouch over this piece and then tacked it in place on a piece of desk pad paper. The stencil was positioned over the cardstock. The drops are fewer near the bottom so I kept away from "splash" but went right over the sentiment at the top. I used the VersaMark pad right on the stencil. After removing the stencil, I used clear embossing powder and embossed as usual. 


Note: Your stencil will be sticky from the VersaMark ink. I first tried cleaning it off with Spritz and a rag.That wasn't bad, but I had so many layers from experimenting, it wasn't quite enough. On my way to the sink, I passed some baby wipes. The wipes worked, at least with my pre-wash. I wouldn't use the chemical disinfectant wipes everyone is hoarding right now, but alcohol-free, mild baby wipes may work. Otherwise, go with my first thought, clean it with a mild soap and water.


To make the puddle at the bottom, I grabbed my Mint Shimmer Brush.


Inside, is another boot, this time stamped with Mink instead of Black so the image is defined, but not overwhelming the sentiment. These could have been stamped right on the card base, but I wanted the flowers to be a separate piece so that the marker didn't show through the back. 


Now, I would never have fussy cut these flowers out of the paper. Even cutting out the boots would have been pushing it, and those are a much simpler design. But with Thin Cuts, it was no problem! It's one of the main reason I bought this stamp set, I can use these flowers for many other projects. The flowers are colored with Tri-Blend markers. 
*I've since decided that Green Turquoise (light end) is a better match for Mint. I'd call the Dull Green colors > Green Apple (light), Sage, and New England Ivy (light). For Sweet Leaf I like Citrus Green (light end). Those of us in the matchy-matchy OCD world can get really freaked out about color matching! But, the truth is, on these tiny images, none of which are even shown with the patterned paper, it doesn't matter (too much!).

Please leave some love in the comment section below!


Thanks for stopping by!! Next, head over to see what fabulous-ness Maz Wood has for you this month.

🛒🛒Ready to shop? Head to my website to find the products I used:

  • Make a Splash stamp set (available with or without Thin Cuts)
  • Stitched Together paper pack (available with or without sticker sheet)
  • Lemonade Cardstock
  • White Daisy Cardstock
  • Mint Shimmer Brush
  • Intense Black ink pad
  • Sapphire ink pad
  • Mink ink pad
  • Tri-Blend markers (see colors above)
  • VersaMark pad
  • Anti-Static Pouch
  • Clear Super Fine embossing powder
  • Heat Tool
  • Stencil Sheets
  • Card Bases and Envelopes value pack
  • Artistry Cricut Collection (use this link to shop Cricut)


Wednesday, April 15, 2020

Heat It Up! Technique Blog Hop


Welcome to our April blog hop! You may have arrived from visiting Miss Carrie. To continue the Hop, just follow the links from blog to blog until you get back to where you started. If you get lost, you can find a list of participants on Melissa's page. 

Spring has sprung and around here, we haven't even had the April showers yet, so as the weather warms, let's Heat It Up! with some heat embossing!

 I made this card with the new "Let's Stay Home" stamp set Close To My Heart has created for documenting the Covid-19 pandemic. Many of us are embracing the idea to "Stay Home and Create!" I've been sending extra cards to keep in touch with family and friends and I have an online crop starting April 15 (contact me for more info).


I also used the current Mix In paper pack and both the stamp set and paper from our "These Are My People" special. The patterns is #6 from Volume 4 in our How To series Make It From Your Heart.

Have you noticed that brads are back in our product line?? You'll need them for making spinner cards and some adorable new things coming in May. Right now, silver is the only option, but what if you want to use them in another color for artwork? Did you know...you can color brads with heat embossing?! Let Me Show You How...

One of the amazing things about embossing brads, is that you may not need ANY ink!  The most challenging part may be finding something to hold the brad so that you don't burn your fingers. I used reverse tweezers and this is the perfect application for them.  


A wooden clothes pin is another option. Does anyone beside me still use clothes pins??

STEP 1.  Hold the brad while your heat it with your Heat Tool. 


STEP 2. Dip the hot brad into the embossing powder. (Just barely. You really only want the head of the brad. The prongs don't need powder, and your tweezers don't either.) Since heat melts the powder, the heat from the brad will cause the powder to start to melt onto the brad.


STEP 3. Heat the brad a little more to get a nice finish and completely melt the powder. 


I made samples with two different powders then I played with some other options. If you want to match a color, use pigment ink and clear powder. I also tested StazOn and sealed those with clear. They are still metallic, almost a bronze/copper and pewter vs. brown and black. You can color the brads (and a lot of other things!) with the Tri-Blend Markers. You can emboss these with clear too, but I don't think it's necessary.


I used white brads for the center of my flowers. You can use the Piercing Tool and the soft side of a Versamat to poke a hole in your paper for the brad. 


Please leave a comment, or any questions, below then hop over and see what Scrappin Katy has to share!

Here's the list of products I used if you need a consultant for shopping:
These Are My People paper pack
Love These People stamp set - retired
Mix In paper pack (March/April) - retired
Mink Twine
Let's Stay Home stamp set - retired    
Sapphire Shimmer Brush
Silver Brads
Bluebird Ink
White Daisy Cardstock
Carnary Cardstock
Microtip Scissors
Tombow Adhesive
Micro Glue Dots
Thin 3-D Foam Dots
Card Bases & Envelopes


Thursday, August 15, 2019

Sparkle & Shine Technique Blog Hop

If you've arrive from Darlys' blog, you're in the right place! If you've become dazed by all the shiny things, Melissa has a list of all the participants this month.

The calendar may say August but crafters know it really the beginning of the holiday season! Last month my card class theme was Christmas and CTMH gave us a Christmas in July Flash Sale.

But, just like embossing, why do we save the Sparkle and Shine for only once a year?? 

My friends and I often show each other our latest creation and ask, "What does this need?" Sometimes there is a missing element but other times, just changing an element can make a big difference.  Adding a little bling can take your artwork up a notch. Let Me Show You How...


This is a perfectly lovely card. There is nothing wrong with it. 
The Gold Embellishing Thread already adds a little something.


Here is the same card design. I added a little more Shine with the Gold Sequins. I also embossed the sentiment and hearts.


 Then I went for all Sparkle. I replace the cardstock with Sugarplum Glitter paper. On the sentiment and hearts I highlighted them with Shimmer Brushes.


Shimmer Brushes are a great way to add a little more to your project. They are available in a variety of colors, not expensive, and easy to use.


On this sticker from True Love Complements, I accented the diamond with Clear Shimmer Brush.


For the rings on the cut-apart sheet from the paper pack, I also used the Gold Shimmer Brush on the rings.


The Mint Shimmer Brush was perfect to embellishing the glasses of champagne!


For the flowers, I completely covered the pink one with Sugarplum, but only accented the grey shading on the white daisy with the Clear Shimmer.


What is your favorite use for the Shimmer Brush?
Which version of my card do you prefer?
You can post your answer below before following the glitter trail to see what Rebecca has to share.

Colors featured: Sugarplum, Sapphire, Ballerina. Other products used:
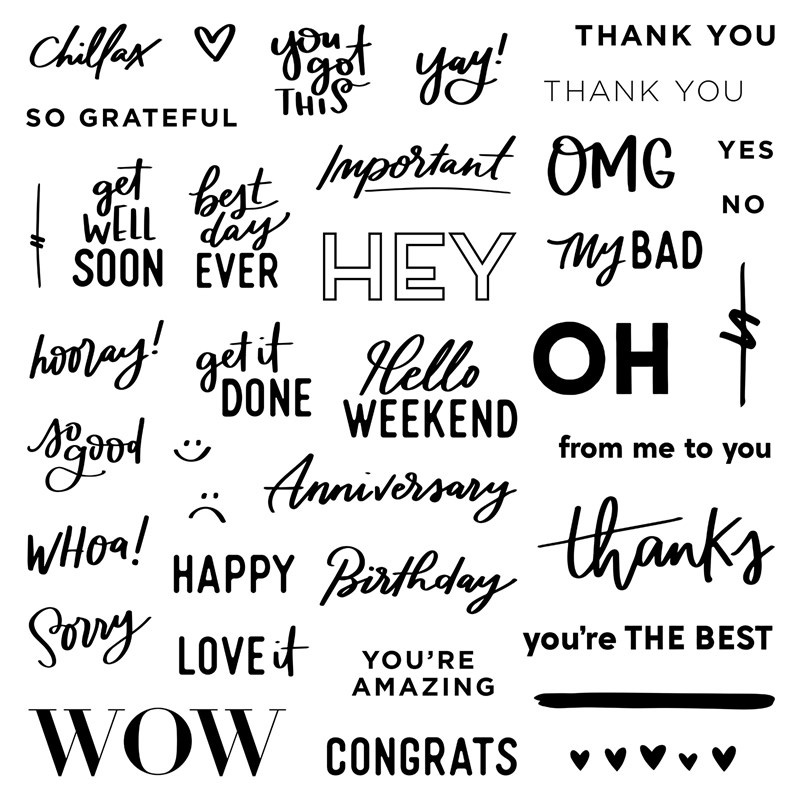
S1908: From Me to You, set of 38Z3298
Sapphire Exclusive Inksâ„¢ Stamp PadSugarplum Exclusive Inksâ„¢ Pigment Pad
VersaMarkâ„¢ Ink PadAnti-static Pouch
Clear Super Fine Embossing PowderDual-tip Permanent Glue Pen
Glue Dots® Ultra-thin DotsMake It from Your Heart™ Volume 4