Showing posts with label reinker. Show all posts

Monday, July 2, 2018

News from Convention

The first bit of news is an adjustment to our Idea Book publication. We will have three issues of Seasonal Expressions, just like before, except that they will include all the current products so there's only one catalog per cycle. There will no longer be a large Annual Inspirations, year long book.  With this modification, the current Annual Inspirations will continue through August 31, 2018. Keep in mind that, as always, some products may sell out as we approach the retirement date, so shop early!

The NEW Holiday Expressions that was revealed to consultants at our annual convention this past weekend, will begin September 1, 2018 and run through December 31, 2018. This is the same Expressions schedule we have had for the "small books." The catalog has been beefed up and actually has more pages than last year's Annual Inspirations.
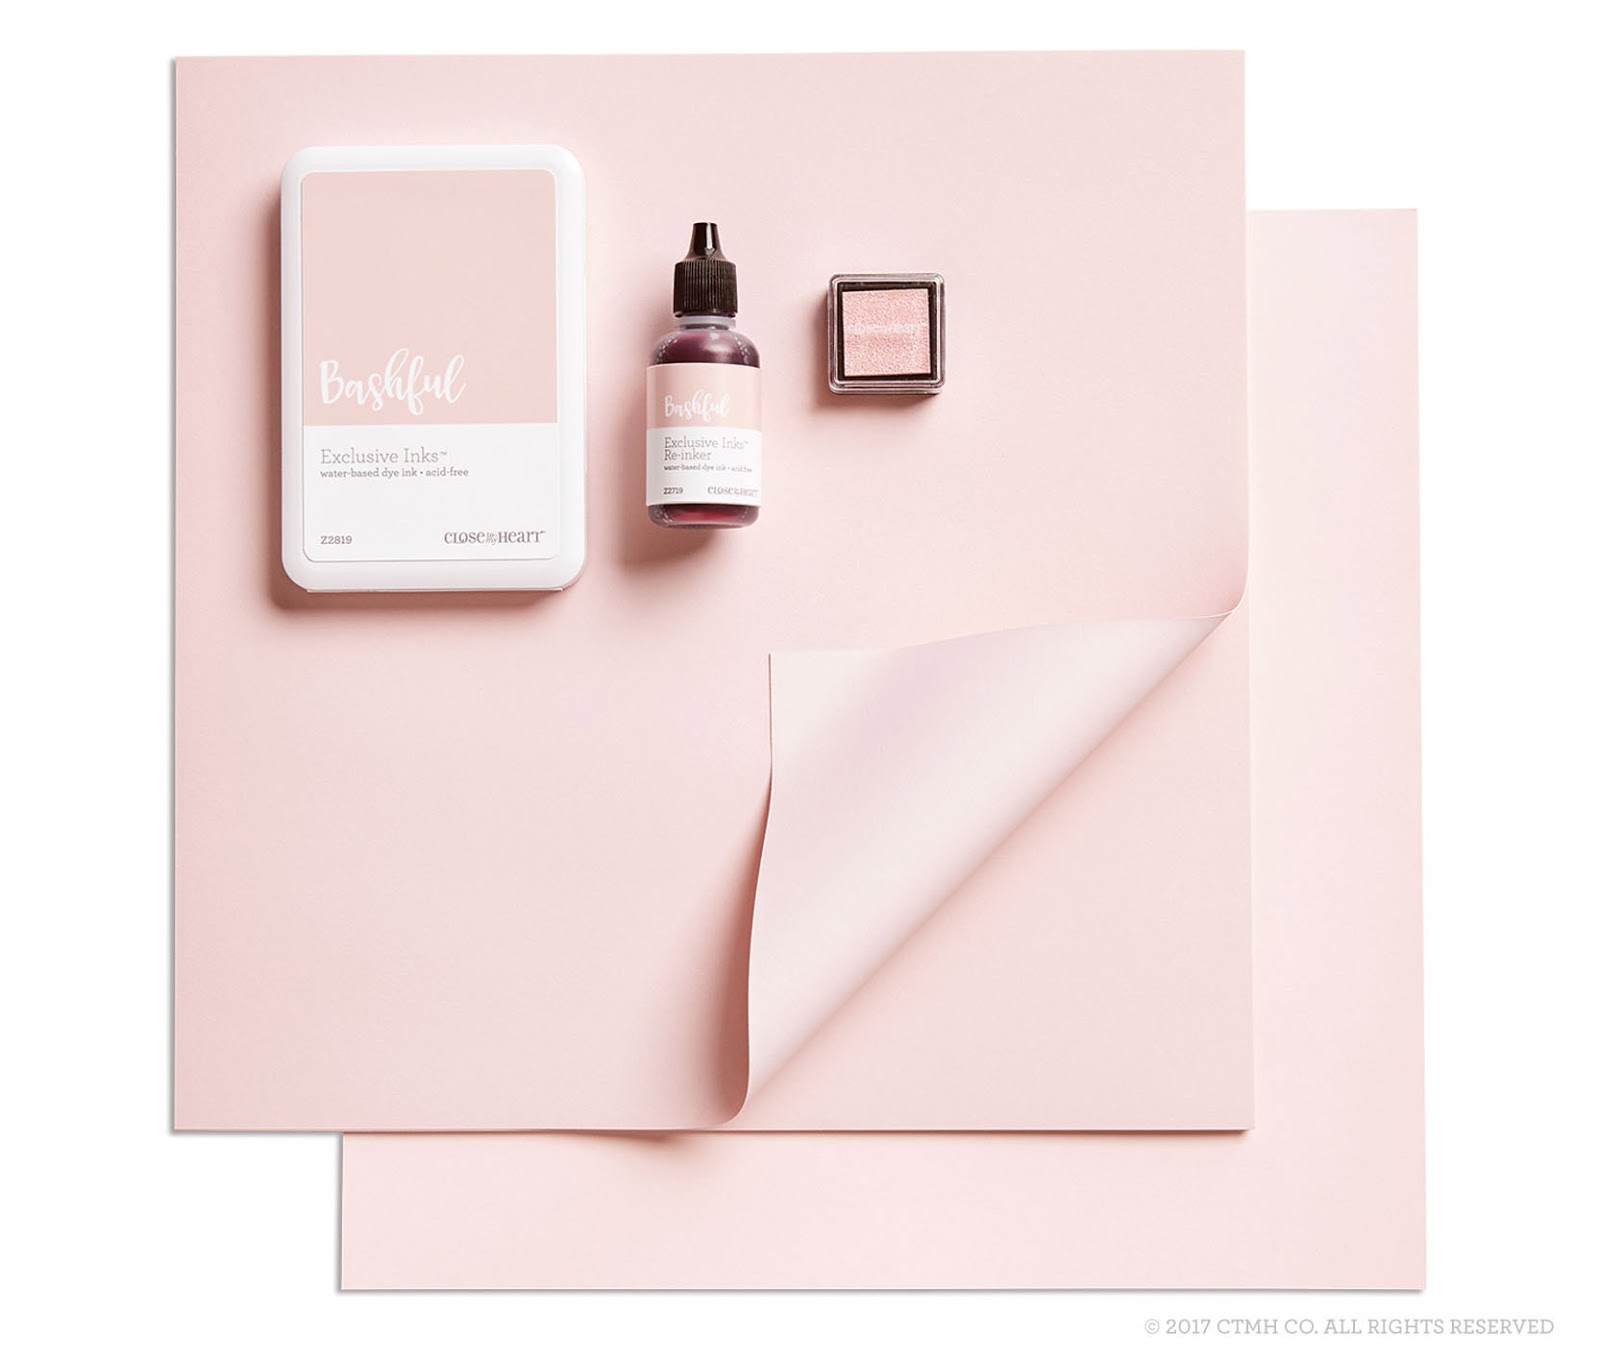
Let's talk colors! It should be no surprise that Bashful, the current Color of the Year will be departing to the great palette in the sky, but never fear, a new shade is on it's way! If you love this delicate pink though, don't be shy, make sure you order the re-inker for your stamp pad and stock up on the cardstock and glitter paper. 
10 additional colors will be leaving to make room for 10 new shades. Gone in the new CTMH year will be:
  • Crystal Blue
  • Juniper
  • Flaxen
  • Sorbet
  • Pacifica
  • Tangerine
  • Blossom
  • Cranberry
  • Poppy
  • Nutmeg

The mini-pigment pads are discontinued. Full size pigment pads are coming in select colors.

The Fundamentals line is retiring.

Be sure to keep an eye on my cloud based Retiring List where I've added notes and will update you as products sell out.

One of the many highlights of convention this year was having Stacy Julian, former DOTS consultant, back with us. Her new product line, Story by Stacy, expands in the 2018 Holiday Expressions. She made a quick video to give you a peek. When you're shopping STAMPAGANZA this month, be sure to add Colorful Texture and Quotable Words to your cart. Not only will you be able to get a 3rd stamp set FREE, but prices will be going up slightly on stamp sets for the first time ever.

Stay tuned for more updates and info on new products!!

More questions? Leave a comment!

Friday, June 24, 2016

New colors coming!!


Word from the Close To My Heart convention today is that new colors are coming in the 2016-17 Annual Inspirations (releases August 1, 2016)! We'll be saying good-bye to several shades from the Adventure collection:

  • Topiary
  • Gypsy
  • Pear
  • Honey
  • Sunset
  • Cotton Candy
  • Hollyhock
Be sure to stock up on cardstock, finish out your ink pad collection and grab the reinkers before they sell out!

Thursday, July 2, 2015

More Throwback Thursday Graduation Layouts

More celebration of Graduation season and Throwback Thursday...
in 2013 Tommy paper (still available on Studio J) came out in the perfect colors for my son's graduation!

Layout #8 from Make It From Your Heart Volume 1.
Info on how I used Flip Flaps to make the announcement interactive can be found on my Facebook page.
"Liberty" die cut from Artbooking.


Notice the color I added to the white cardstock using our Spray Pen? I  previously wrote a blog post about this technique.


"Sideline Surprise" layout from Imagine. This one can be a little complicated with the angled photos. You can always change them to squares. Mine got a bit busy so I used ribbon to separate the two photos on the left pages and highlighted the action with frame shapes on the right side.

Diplomas are just rolled paper tied with Baker's Twine.

"Simple Contrast" from Cherish. Flip Flips on both right side photos; instead of three, I have seven photos. This layout also includes paper from Lucky, and it too is available in Studio J.


"Contrasting Elements" from Cherish. 
Borders cut using Art Philosophy cartridge.

Flip Flaps on the photo and the program.


Friday, February 6, 2015

Re-inkers 301: Direct from the Bottle


  • Re-inkers can be used to dye embellishments to match your projects: ribbon, paper flowers, etc. Here's a card I made with the Color-Ready Seam Binding Ribbon dyed to match the Sunny Yellow.
  • Water coloring...you may have used a stamp pad for a water color medium:  squeeze the middle of the closed pad, then use the ink from the lid.  This can be a soft, subtle color, depending on the shade (top hat). But, if you want a stronger, richer color, add a few drops of re-inker to the lid or onto the All Purpose Mat and pick it up from there (bottom hat). Vary the brush size for different looks. Speaking of the All Purpose Mat, check out this fun technique from the Close To My Heart blog.
  • Next, I tried Paint Brush Inking. I put several drops of re-inker on my All Purpose Mat then picked it up with a 1" flat brush.  After applying the re-inker to the stamp, I stamped it for a fun texture look! I like the solid shape better; the texture gets hidden in the second image. (Surprise! I only used one stamp...turn your stamp over to get the same shape, only solid.)
  • Puddle Pads are another fun way to use re-inkers.  Check out the video:                                 

Thursday, January 8, 2015

Re-inkers 201 (con't): Mix it with other Mediums


  • Mix with Liquid Glass                                                                                                                         
  • Marbling Technique...everyone's favorite using shaving cream.  
    1. Put about 1" of shaving cream in a pan, a disposable pie plate works well, and level off like icing on a cake.
    2. Add drops of 2-3 colors of re-inker in random spots.
    3. Using a toothpick, popsicle stick or the wrong end of a paint brush gently swirl through the re-inker drops to distribute the color in a nice swirl pattern, Don't over-mix or you will get muddy colors!
    4. Take a sheet of carstockd and put it on top of the cream.
    5. Using your fingertips, gently push the paper onto the cream, making sure that the complete surface of your cardstock touches the cream. Feel free to give it a twist!
    6. Pick up the cardstock by one side and lift off.
    7. Use a spatula or something similar to scrape off the cream. You will have a beautiful pattern left on the cardstock.  Scrape in long sweeping motions so you do not leave streaks in your design. After removing the majority of shaving cream off of your cardstock, make sure to dab any excess shaving cream off with a paper towels and allow to dry. Have plenty of paper towels handy and a garbage bag to throw the messy paper towels in.  Multiple sheets of cardstock can be done with one pan of shaving cream.
    • Tip:  Use unscented or ladies shaving cream, it smells nicer than the men's menthol type!
  • Mix with paint...our tool kit came with a bottle of white Ceramcoat Paint, Mix reinker with the paint to make CTMH colors for non-paper crafts, scraproom decor, etc. Paint a Designed Decor piece to match your home!

Next Post: Re-Inkers 301:  Direct from the Bottle


Tuesday, January 6, 2015

Re-inkers 201: The Spray Pen


Do you have any re-inkers? Well, if your ink pads aren't very used, you may wonder why you would need them.  Obviously, re-inkers can be used to RE-ink your stamp pads, but did you know there were so many other things you can do with these delightful bottle of liquid color?

There are many techniques that use ink from the re-inkers to add color and texture to your projects.
  • The spray pen:  Z1380 is only $3.95 for THREE spray pens. These are so fun! Play with different options to get the hang of it; very addicting technique!
     

    1. Tip:  Instead of water, use Rubbing Alcohol, it will evaporate faster and won't leave you with a soggy project.
    2. Recipe:  Starting from the bottom, fill the spray pen up to the 7th line with water or rubbing alcohol. Add reinker up to the 9th line. For extra shimmer, add three drops of Create-A-Shade Pearl Paint (we use to sell this). Insert the spray mechanism, tighten and cap, then gentle shake to mix.                                                                                                                   
    3. You can get different looks by varying the angle, height and speed of the spray.
    4. Be sure to prepare for leaks in your work area; better safe than sorry! Our All Purpose Mat is a great choice (Z2045). I often spray into a box, which gives me an over-spray barrier on up to four sides.
    5. Always empty, rinse, and clean your spray pen after use. Especially when using the paint which can clog the nozzle if it dries. Be sure to fill the pen with plain water and spray several times to clear the nozzle. If it does become clogged, try soaking the nozzle part.
    6. The Spray Pen is also great for using with just plain water. Check out the technique on page 55 of the 2014 Annual Inspirations Idea Book and Catalog.
    7. Try mixing water and bleach for a fun technique on dark paper.


Wednesday, December 31, 2014

Re-inkers 101: Re-inking Your Stamp Pad


Probably my favorite thing about Close To My Heart products is that they match...the cardstock, ink pads, accessories, etc, and that includes the re-inkers. Customers ask, "When do I need to re-ink my stamp pad?" There is no standard answer. It's going to depend on how often you use a particular color, in what ways you use it and other variables (like, did you forget to close it overnight?!). Sometimes I'm not even aware that my ink pad needs re-inking until someone else uses it or I use someone else's and notice a difference.
  • If, in spite of seasoning your stamp, using the "squishy thing" or versamat as a stamping surface, and standing up to stamp, you still can't get a good, clean, crisp image, you may need to re-ink your stamp pad.
  • If you recently made 100 Christmas cards with Cranberry or Wedding Invitations with a solid stamp, you may need to re-ink your stamp pad.
  • If you are a consultant, and have a lot of people using your stamp pads, you may need to re-ink.
  • If you do a lot of sponging or direct to paper with the same neutral color, you may need to re-ink your stamp pad.

So, how DO you re-ink a stamp pad? 
  1. Double and Triple check that your ink pad and re-inker are the same color. 
  2. Check that the lid is tightly on your re-inker bottle and gently shake. 
  3. You do not need to use a whole bottle of re-inker to revitalize your ink pad. It may only take a small amount.
  4. Lightly (don't flood it) and carefully go over the pad in small amounts and various directions. You can add a few drops at a time or, I like to draw a fine line left to right, top to bottom and/or zig-zag, etc. Watch as the ink soaks into the pad...if it sinks in quickly, keep going, if it seems to take a while to soak in, maybe it wasn't as dry as you thought. You can always add more.  
       
  5. Put the lid back on the reinker.
  6. If possible, close the ink pad and let it set for a bit, even 5 minutes, for even distribution. Side note...our patented ink pad design allows gravity to keep the ink on top of the stamp pad. Back in the "old days" we stored our flip top pads upside down