Showing posts with label Shaker. Show all posts

Saturday, January 15, 2022

Let's Get Geometrical - CTMH Technique Blog Hop


Whether you arrived from Danielle's page or just stumbled upon us, WELCOME to TheScrapBuzz blog and this month's Technique Hop. For January, we are focusing on Geometric Shapes/Patterns.  Follow the links to hop from blog to blog for techniques, tips, and artwork!
 
If you get lost, find broken links or have other issues, you can find a list of all this month's participants on Melissa's page. Our group is larger this month - how exciting!!  Be sure your are commenting so the Makers know you appreciate their efforts and continue to share their projects!

I was uploading digital images to my Cricut account recently, including Geometric Circle, and thought it would perfect for our theme.

I used a pattern called Circle Collection from one of our retired How To books called Wishes. It's also similar to this card from the current seasonal catalog.
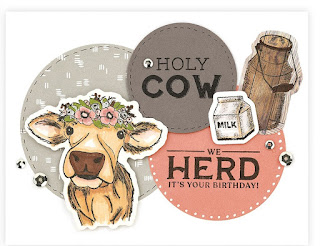
 
The circle shape reminded me of one of the the Candid Moments papers, so I used that collection for my color palette and the patterned paper. It was hard to decide if I wanted to feature the triangle or circle on my project.


I used an extra image as a stencil and sponged onto the 5x7 card front with matching Carolina ink.
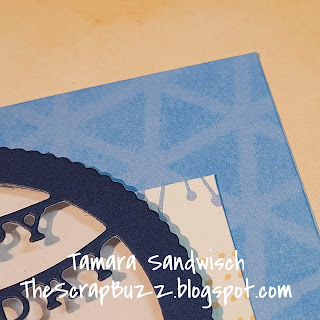

The circle made me think of shakers so I pulled out the Happy Birthday die. I was surprised that the orange Bitty Beads coordinated with the peach and papaya!  They look like sundance in my picture.

And now for some sad news:  While working on this card I discovered one of the Thin Cuts from my Party Gnomes set is missing. I know I had it several months ago. I looked for a while but it wasn't anywhere obvious. Perhaps it will show up on the bottom of an ink pad or in a pack of cardstock someday. I hope it didn't get tossed with paper scraps!!
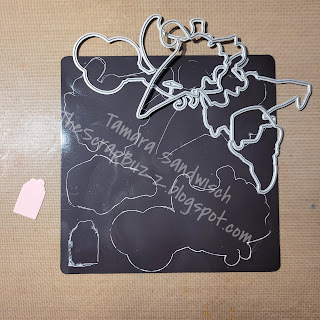

Make sure this tragedy doesn't happen to you!!  Always put your Thin Cuts back onto the magnetic sheet (included with all Thin Cuts). I usually do, so I'm not sure what could have happened, other than the gift is smaller that the other shapes.  Another tip was shared by a Maker back when we carried chalk markers, but it works with White Gel Pens too!  (We featured the pens in our hop last month.)  Simply trace around your dies so you know they're all there when you put them away.  Be sure to let the ink dry before you move your shapes. I found the 0.8 size (medium) worked best for me.
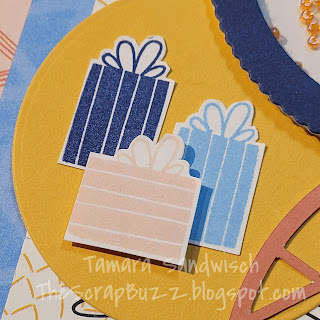

While fussy cutting the gifts, I realized I could easily make a present with the bow on a horizontal box by using a sticky note to Pick-and-Omit the stamp image.
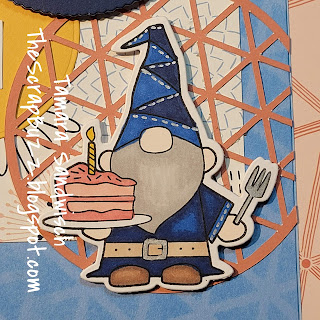

This is the first time I used any of my Precious Metals Metallic Markers. I colored the fork and belt buckle, then added a little stitching here and there. These are definitely something I need to play with in the future!

Please scroll down and leave a comment then hop over to see what Maz has to share this month!

Sunday, December 15, 2019

Season to Sparkle


Join us in our monthly Technique Blog Hop during the Season to Sparkle! Go from blog to blog by following the links to see all the shiny art we have to share...


You've arrived from
Alyson Mayo's blog. If you get lost, Rudolph will light the way (or you can find a list on Melissa's blog).


This theme was hard for me because it's more along the creativity line, which is NOT my forte! At first, I wanted to use EVERY sparkly, shiny, glittery product we have; but I was able to refrain myself.


I looked at some of our fabulous How To books then I went to the CTMH Cricut Collections. Now that ALL of them are available to purchase, I had thousands of image choices!  So, which collection claims this image? One of the limited edition Christmas selections? No. A card from Artfully Sent? Nope. It's actually a page from Artbooking!!


I selected our White Glitter Paper for this layer. If you haven't tried it, there's no problem cutting it on the Cricut. I leave my machine on cardstock and use a standard mat, but not a new mat; it's like White Daisy Cardstock. If you cut a lot of glitter paper at one time, clean out your blade housing. I noticed this a few years ago when I cut pages of snowflakes.


I must have been making too many shaker cards lately because that's what I saw with the "window" in this image. I hid the holes in the page with the contour tool in design space. I had planned to mount the image on a card base so I sized it 1/4" smaller. But I didn't like the fancy corners on top of the square corners. I looked for a card shape to coordinate but didn't find one, so, I made one! I resized the image to card front size, duplicated the image, hid the window contours, and welded two together.

When I was picking out the sequin colors I kept going back and forth between silver and gold. I couldn't decide on a base color with either of these and the White Glitter Paper, so I added a backing to the window with Silver Foil Paper.


My card is finished off with White & Gold Skinny Ribbon. I decided to add it after the card was assembled so I used my ribbon trick: Whenever I want to save ribbon or when I need ribbon tied about a piece of paper, I tie it around a My Acrylix block first. That gives me a firm object to work with and I can snip the loop off center if the bow isn't going to be in the middle. I suggest using a block that's about twice the size of the paper (this was actually too big, but the one I had nearby). Keep the other end attached to the roll until you're finished also helps when making bows or tying knots.
Thanks for stopping by!!
Please leave a comment before you hop to Katy Taylor's blog.

Products Used:

  • White Glitter Paper
  • Silver Foil Paper
  • Sapphire Cardstock
  • 3-D Foam tape
  • Gold Sequins
  • White and Gold Skinny Ribbon
  • CTMH Artbooking Collection
  • Anti-Static Pouch
  • acetate or similar


Thursday, November 15, 2018

Shake Things Up! - CTMH Technique Blog Hop


Welcome!! You have arrived at The Scrap Buzz from CTMH Craftings. Lauren is across the Pacific Ocean from me in New Zealand!! Keep clicking the links from blog to blog until you visit every in the circle.  If you get lost while globetrotting, there's a list of participants here.

Did you get last month's special, Holiday Sparkle? So cute!! That card kit was Cut Above® style, all the pieces were pre-cut. But the fun doesn't have to stop with that kit, this month's blog hop is showing ideas using the individual Shaker Card products.


For my card, I started with our new Cricut® Season of Joy Digital Collection.  The "Silent Night" card is pre-designed with all the layers, #M584FBE2. The four layers are attached at the sides to form an "M" shape. I have cut this before in standard size; this time, to accommodate the shaker, I made it 5x7. I removed "Silent Night" and replaced it with the "Oh Holy Night" image #M584F877. I made the base circle 3" to match the scale of the Shaker Window and Confetti Thin Cuts.

TIP: Remember to insert your scoring stylus when cutting the card overlays.

The Thin Cuts set comes with four dies:
  • base circle
  • star confetti
  • heart confetti
  • stitched ring for the top
The confetti dies are great for using up small, odd shaped scraps. If you don't have any scraps, you can run the same piece through your machine in different alignments. I added star confetti to the Loose Sequins in Silver. 


TIP:  Toss the Anti-static Pouch in with your sequins, re-seal and shake a little. Remove the pouch. It helps tame things down a bit.

Except for the base circle, the O Holy Night layers are on top of the acetate circle. After attaching the Sapphire phrase to the Carolina Blue piece, I highlighted the sentiment with Liquid Glass. I added Embellishing Thread to mimic the cardstock circles and sandwiched it between the cardstock and glitter stars with Micro Glue Dots. This was all secured to the top ring before placing it on the acetate.


Please leave a comment and let me know what you think of my project. Your next stop is just down the highway from here (literally), so head to duck-land and see what JAYMA has created for you!

Products Used:


Tuesday, March 17, 2015

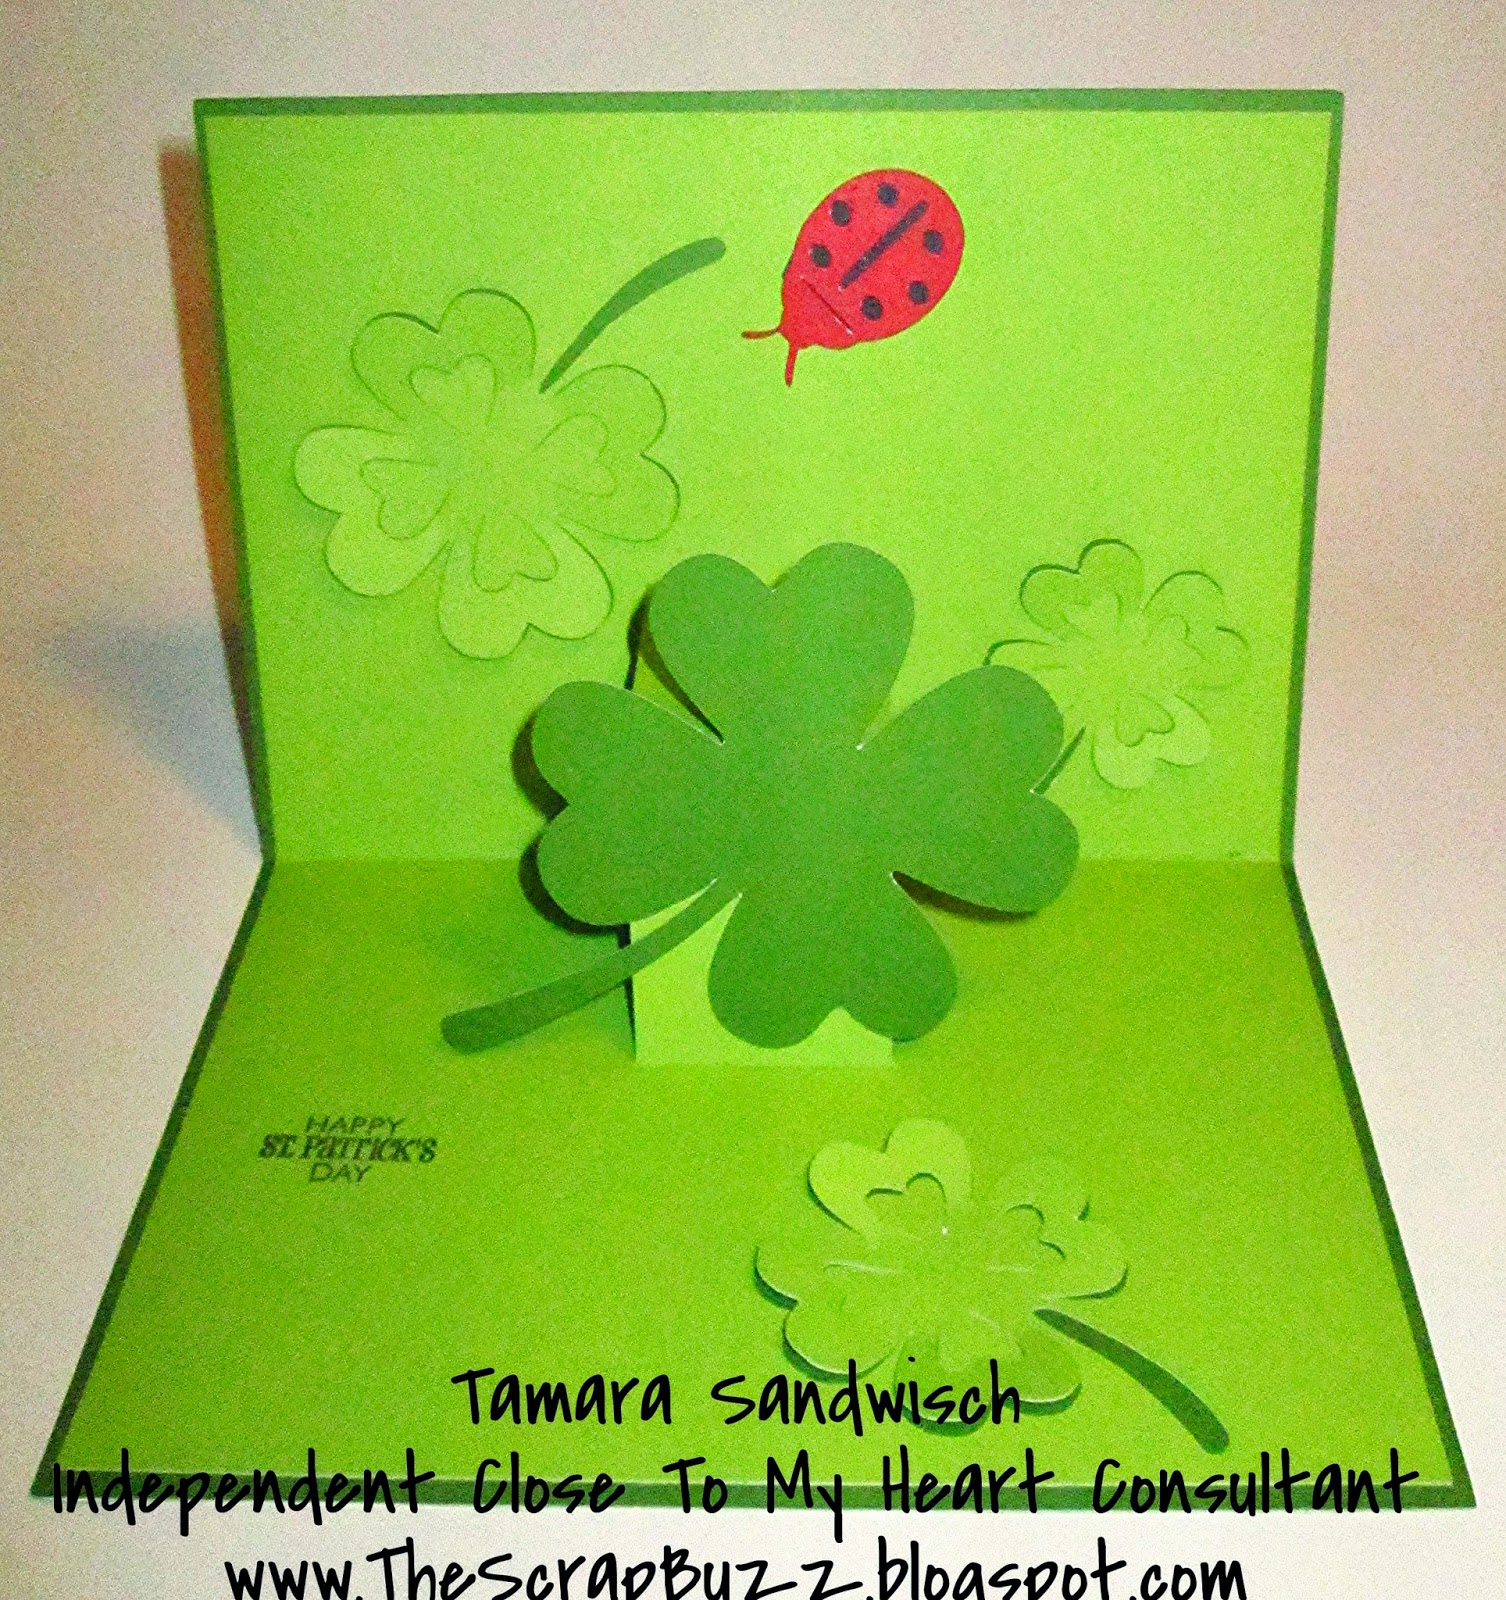
Happy St. Patrick's Day!

I had some fun playing with Artfully Sent key 8...


Update: Close To My Heart's Artfully Sent Cricut Collection is still available! Here's how to find it, click on my Cricut link on the left side, or click here, then scroll down to ARTFULLY SENT. It should look like this...


Add the collection to your cart and check out. It should show up in your Cricut account and Design Space momentarily. For more info on Cricut and CTMH, click on the CRICUT tab above. Feel free to contact me if you need help or have questions.