Showing posts with label Embossing. Show all posts

Saturday, May 15, 2021

Just Distress Oxide it! - CTMH Technique Blog Hop


 Welcome to the May 2021 Technique Blog Hop!  If you get lost, or find a broken link, you can get the list of participants on Melissa's page.  You may have arrived from Brandi's page. Complete the hop by following the links from blog to blog so you don't miss any of the artwork.


FYI I am storing my Distress Oxide inks in a My Acrylix Mini Stamp Organizer. There is room for my blending tools too! The foam circles are on a piece of velcro inside a cabinet. Some people put them on the underside of the organizer lid.


I selected three bright colors and blended them to get five colors. After my first test sample I wasn't sure how many more attempts I would need, so I used a 5.5" x 12" piece of White Daisy Cardstock. That gave me at least two card fronts plus extra for mistakes or testing.


After applying and blending the ink on the cardstock, I sprayed it with a little water to get some oxide areas. I made sure my piece was dry, then ran it through my CTMH machine with the Celebrate Embossing Folder. 


Finally, I sanded the raised areas to pop the white cardstock words.

I feel like I need to embellish my card, but there isn’t really room. Shimmer brush maybe?? I tried some black splatters on one sample, but I didn’t like it. Bitty sparkles?? Leave me your suggestions in the comments!

Your next stop is to visit is Lauren.

Wednesday, April 15, 2020

Heat It Up! Technique Blog Hop


Welcome to our April blog hop! You may have arrived from visiting Miss Carrie. To continue the Hop, just follow the links from blog to blog until you get back to where you started. If you get lost, you can find a list of participants on Melissa's page. 

Spring has sprung and around here, we haven't even had the April showers yet, so as the weather warms, let's Heat It Up! with some heat embossing!

 I made this card with the new "Let's Stay Home" stamp set Close To My Heart has created for documenting the Covid-19 pandemic. Many of us are embracing the idea to "Stay Home and Create!" I've been sending extra cards to keep in touch with family and friends and I have an online crop starting April 15 (contact me for more info).


I also used the current Mix In paper pack and both the stamp set and paper from our "These Are My People" special. The patterns is #6 from Volume 4 in our How To series Make It From Your Heart.

Have you noticed that brads are back in our product line?? You'll need them for making spinner cards and some adorable new things coming in May. Right now, silver is the only option, but what if you want to use them in another color for artwork? Did you know...you can color brads with heat embossing?! Let Me Show You How...

One of the amazing things about embossing brads, is that you may not need ANY ink!  The most challenging part may be finding something to hold the brad so that you don't burn your fingers. I used reverse tweezers and this is the perfect application for them.  


A wooden clothes pin is another option. Does anyone beside me still use clothes pins??

STEP 1.  Hold the brad while your heat it with your Heat Tool. 


STEP 2. Dip the hot brad into the embossing powder. (Just barely. You really only want the head of the brad. The prongs don't need powder, and your tweezers don't either.) Since heat melts the powder, the heat from the brad will cause the powder to start to melt onto the brad.


STEP 3. Heat the brad a little more to get a nice finish and completely melt the powder. 


I made samples with two different powders then I played with some other options. If you want to match a color, use pigment ink and clear powder. I also tested StazOn and sealed those with clear. They are still metallic, almost a bronze/copper and pewter vs. brown and black. You can color the brads (and a lot of other things!) with the Tri-Blend Markers. You can emboss these with clear too, but I don't think it's necessary.


I used white brads for the center of my flowers. You can use the Piercing Tool and the soft side of a Versamat to poke a hole in your paper for the brad. 


Please leave a comment, or any questions, below then hop over and see what Scrappin Katy has to share!

Here's the list of products I used if you need a consultant for shopping:
These Are My People paper pack
Love These People stamp set - retired
Mix In paper pack (March/April) - retired
Mink Twine
Let's Stay Home stamp set - retired    
Sapphire Shimmer Brush
Silver Brads
Bluebird Ink
White Daisy Cardstock
Carnary Cardstock
Microtip Scissors
Tombow Adhesive
Micro Glue Dots
Thin 3-D Foam Dots
Card Bases & Envelopes


Wednesday, January 15, 2020

Terrific Treats - Technique Blog Hop

Thank you for joining us in our monthly Technique Blog Hop. For January, we're spotlighting "Terrific Treats." Go from blog to blog by following the links to see all the fun ideas we have to share. Valentine's Day is only a month away!


If you've arrived from visiting Miss Carrie, you're in the right place. If you get lost, you can find a list on Melissa's blog.


Did you know...we carry products that aren't found in either of the current catalogs?!  There are two specific areas to find these on my website: Clearance and Online Only. There are so many "extra" products that the latter category is subdivided! 

Z4150
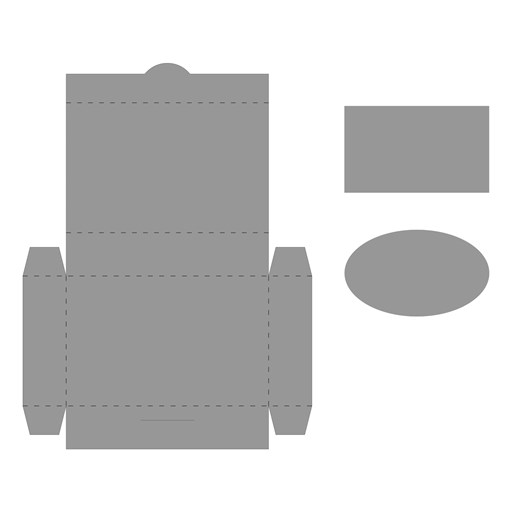
I decided to use one of these "bonus" products, Gift Card Box Thin Cut, this month for my project. Surprisingly, there aren't many ideas online using this die. Let's change that! If you have ideas, share them!  My project was so simple, I thought this post might be short. But, once I started taking pictures, I thought of all sorts of things to share!

The box die comes with two other shapes: an oval and a rectangle. These can be used to make a window in the box or to cut an additional layer for embellishing your box. But, for Valentine's, I had to use a heart! 

This is one of four sizes in the Basic Hearts Thin Cuts set. If you're making a window, the heart (or oval or rectangle or ??) can be run through your die cut machine at the same time you cut the box. If you want your window to be "closed," add a piece of acetate or vellum inside the box. You can also cut the shape from a different paper, or turn the shape over, for contrast.

For my first box, I used one of the new papers from the January/February catalog.  Celebrate Today is full of bright, cheery colors. One of the paper patterns is this fun watercolor. I used a Zip Strip around my box; it is the perfect size! What fits in these boxes? I found a few things in my treat basket that fit well including a package of Pop  Rocks (folded).


These boxes are the perfect size to pair with the cards in the Oh My Happy workshop! The envelopes included are Pixie, one of the colors in Celebrate Today. I didn't like the pink box on pink envelope, but I love the floral on pink! A little box of Red Hot candies is inside this one. Many sizes of packaged chewing gum will also fit. I suggest you take a box with you when shopping as packaging varies immensely from location to location.


I wanted to try a box with plain White Daisy cardstock. This would be an easy way to involve the kids...they could stamp or color, or color stamped images, etc. Since there are no little ones at my house, I found another way to dress up the white. I used an embossing folder and then colored the raised images with ink. (If you are looking for coloring ideas, come back next month when our theme will be "Color Your World.")


Here are the steps:

  1. Cut cardstock into 5x7 pieces.
  2. Emboss the paper.
  3. Using the Direct to Paper technique, color the raised side. (Rub the ink pad over the paper.)
  4. Use the Gift Card Box Thin Cut to cut out the shape (and window if desired).
  5. Assemble the box.
  6. Embellish.
  7. Fill.
  8. Share!!


Also note: you can get four 5x7 rectangles out of one piece of 12x12 cardstock. 

It looks like the die won't fit, but it will! Just make sure the 5" are between the outside cut edges. I cut my boxes upside down (paper on top of die) to make sure the paper was placed correctly. Also, when you make large, straight cuts, remember to angle your die so that there is a gradual leading edge going into the die cut machine. (I have a Cuttlebug.)


For this box, I used the oval AND rectangle shapes layered on top. The "to" and "from" are from the Oh My Heart stamp set CC12013. There are 37 stamps in this set!! Around this box is a piece of Candy Apple Striped Ribbon. Remember my ribbon trick from last month's blog hop? Well, if you thought it was hard to tie ribbon around a piece of paper, you won't want to try it around a paper box!  Remarkably, this box is almost the same size as the 2" x 3.5" Block. It fits inside perfectly!! If you are giving crafty gifts, this would be a fun way to wrap a block!!

Here's another tip:  To keep your ribbon from unwinding between uses, simply put a rubber band around the spool! I used to use pins, but they tended to get in the way, or misplaced. 


My favorite treat for these boxes is the Dove Promises candy! This time of year you can find the heart shapes. The regular shapes fit too, however, they are not quite square. They fit with the longer edge across the long side of the box. The specially wrapped Valentine's theme look weird to me since the letters are going in the wrong direction.  

If you don't need to make bunches of these, we found the small Dove bags at Dollar Tree.


Speaking of directions, if you use directional paper (words or lined up hearts) pay attention to which way your are cutting your box. One of the reason's I didn't use the Word Search embossing folder  (which is on Clearance!) is because I placed the die going the wrong way.

Please leave a comment before hopping over to see what aMAZing project Maz Wood is sharing this month.


Tuesday, October 15, 2019

Back to the Basics


Sometimes, we get so obsessed with new that we forget the tried and true. This month, we're going Back to the Basics to remind ourselves that these techniques are timeless options for stamping and scrapbooking. 

If you've arrived from  Michelle's blog, you're in the right place! If you just happened to stumble in, welcome to The Scrap Buzz! My posts tend to be long, because I want to share ALL the details!

To view all the posts in this month's blog hop, follow the link in each post to the next blog until you arrive back where you started. If you get lost, or run across a broken link, you can find the complete list of participants on Melissa's blog.

Let's review RANDOM STAMPING. This technique can be used to create your own Background & Texture (B&T) paper. It is my favorite for scrapbooking sports because I can customize my paper every year using a few stamps and the team colors.

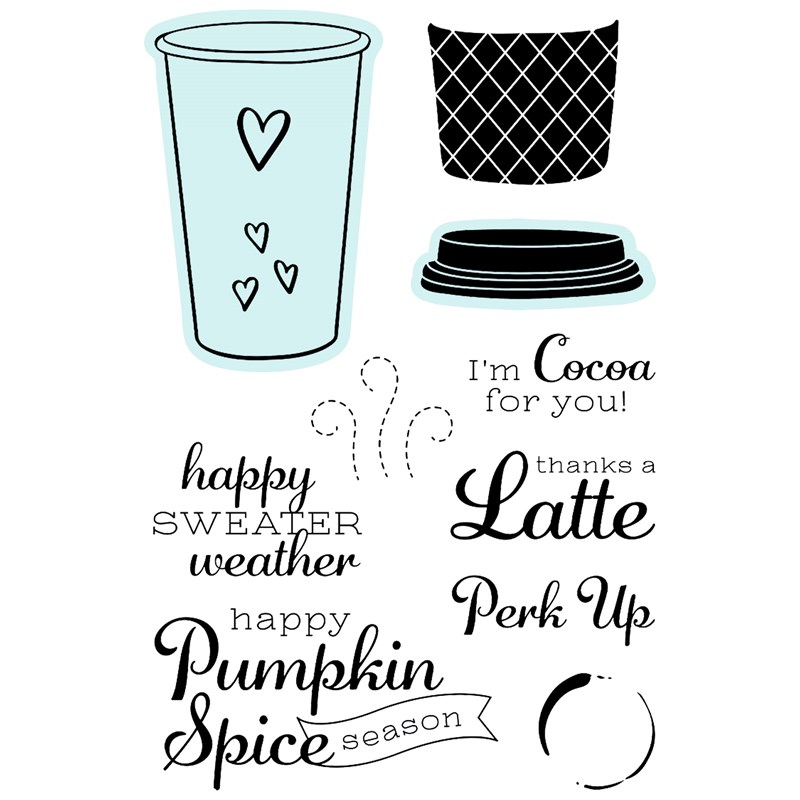
To begin, stamp two images, then stamp a third to form the points of a triangle. The distance between images will depends on the size of the stamp, what else you plan to add, and the size of your paper. The stamp I used was the coffee ring from the Perk Up stamp set. After making one triangle, use two of the previously stamped images and add a fourth to form another triangle. Repeat until you are happy with the result and/or fill up the paper. If you are using more than one stamp image, start with the largest then go back and fill in using the smallest image last.

For my project, I chose the Hawthorn paper pack and selected ink colors to match. Did you know these colors are listed 
  1. on my website with the paper
  2.  in the catalog at the beginning of each paper suite
  3. on the last page of the recipe booklet
  4. on the zip strip for each B&T paper.
I found some pumpkin spice lip balm and had to make a fun card with Perk Up! I selected the leave/green print paper to be the base of the card. On the front, I added a piece of Sage cardstock,   light side up, to coordinate with the Hawthorn paper. My first ink color was Toffee. Notice that I didn't make the triangles very even. The point of random stamping this paper was to add some texture. I focused on two opposite corners and made one "heavier" than the other. Next, I used our new Paprika ink. At this point I needed more so I stamped another round with the same color. These three images form their own triangle but they also form triangles with the three previous Paprika images. Notice too that I am overlapping my images this time. Sometime this works, it depends on the stamps.

Finally, I stamped two sets of rings in Pebble; you can barely see them. To keep the upper corner heavier, I stamped more of the rings on the paper. In the bottom corner, the more of the ring images go off the paper. Always stamp some of the images off the edge or your paper when random stamping. It helps the visual and prevents a trapped or framed look.

After stamping a few sets of ring images, I laid the elements of my card in place to see if more rings were needed.

Tip: When using the Versamat as your stamping surface, either lay a piece of scrap paper over it, or clean if off when your done. I love that the Stamp Shammy is perfect for this!! If you don't wipe the ink off the Versamat, you may lay something down and pick up the ink where you don't want it. 


Here is my finished card! Our B&T duos are just perfect for cards like this when both sides of the paper show. On the outside of the card, I used the October Stamp of the Month, Autumn Air. "Fall" is embossed with Princess Gold powder. "Is in the air" is stamped in Charcoal ink. I made sure to leave room in this area while I was random stamping. The inside sentiment from Perk Up is stamped in Paprika.


This fancy fold design came from a make up sample I received. I copied the design and adjusted the size. I did several of these a few years ago, measuring and scoring each card individually. This time, I made a Cricut DS file. If you would like to try this card, you can use my file for FREE!


Next, hop over to see what Amy has created.


If you're ready to shop, and don't have a consultant, you can find these products on my website.

Note: There are thin cuts for Perk Up, but they are currently unavailable. More are scheduled to arrive soon!

Products Used:
Perk Up stamp set & thin cuts
Autumn Air - October SOTM
Pebble
Charcoal
Versamat
All-Purpose Mat
Stamp Shammy
Princess Gold embossing powder
Anti-Static Pouch
Versamark ink
Heat Tool




Thursday, August 15, 2019

Sparkle & Shine Technique Blog Hop

If you've arrive from Darlys' blog, you're in the right place! If you've become dazed by all the shiny things, Melissa has a list of all the participants this month.

The calendar may say August but crafters know it really the beginning of the holiday season! Last month my card class theme was Christmas and CTMH gave us a Christmas in July Flash Sale.

But, just like embossing, why do we save the Sparkle and Shine for only once a year?? 

My friends and I often show each other our latest creation and ask, "What does this need?" Sometimes there is a missing element but other times, just changing an element can make a big difference.  Adding a little bling can take your artwork up a notch. Let Me Show You How...


This is a perfectly lovely card. There is nothing wrong with it. 
The Gold Embellishing Thread already adds a little something.


Here is the same card design. I added a little more Shine with the Gold Sequins. I also embossed the sentiment and hearts.


 Then I went for all Sparkle. I replace the cardstock with Sugarplum Glitter paper. On the sentiment and hearts I highlighted them with Shimmer Brushes.


Shimmer Brushes are a great way to add a little more to your project. They are available in a variety of colors, not expensive, and easy to use.


On this sticker from True Love Complements, I accented the diamond with Clear Shimmer Brush.


For the rings on the cut-apart sheet from the paper pack, I also used the Gold Shimmer Brush on the rings.


The Mint Shimmer Brush was perfect to embellishing the glasses of champagne!


For the flowers, I completely covered the pink one with Sugarplum, but only accented the grey shading on the white daisy with the Clear Shimmer.


What is your favorite use for the Shimmer Brush?
Which version of my card do you prefer?
You can post your answer below before following the glitter trail to see what Rebecca has to share.

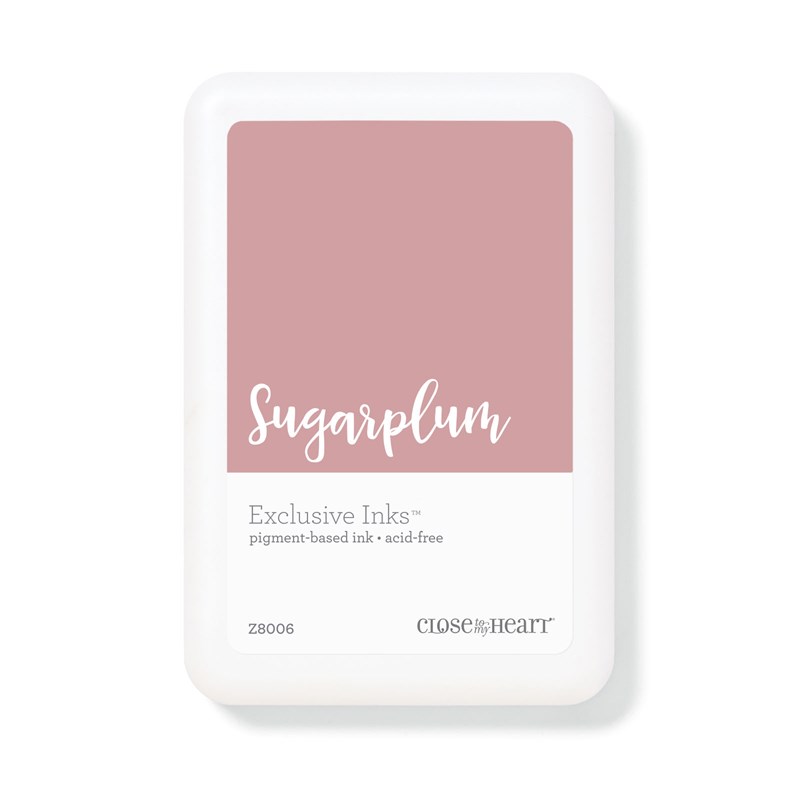
Colors featured: Sugarplum, Sapphire, Ballerina. Other products used:
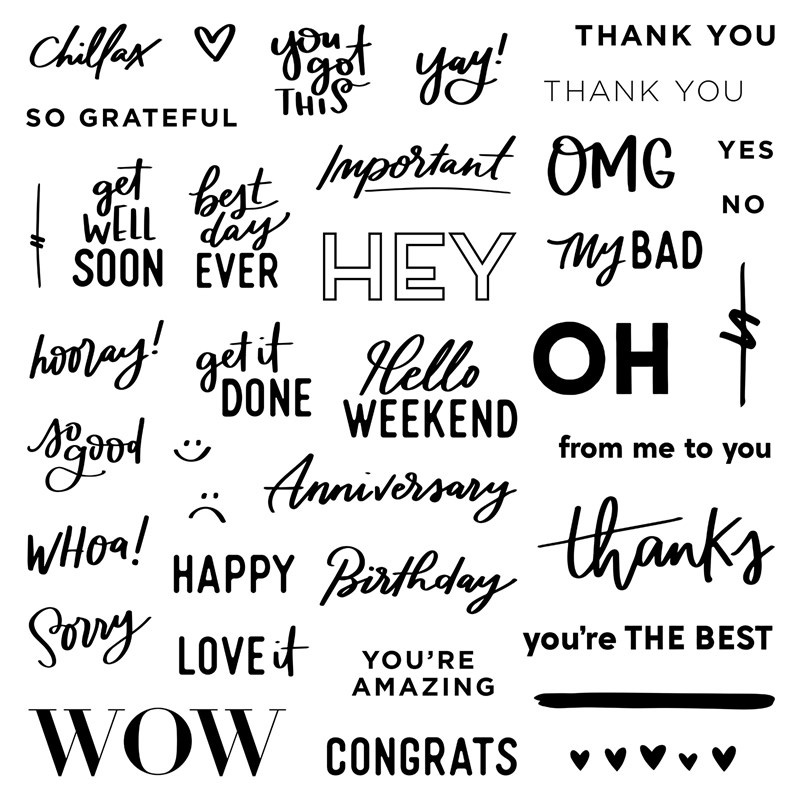
S1908: From Me to You, set of 38Z3298
Sapphire Exclusive Inksâ„¢ Stamp PadSugarplum Exclusive Inksâ„¢ Pigment Pad
VersaMarkâ„¢ Ink PadAnti-static Pouch
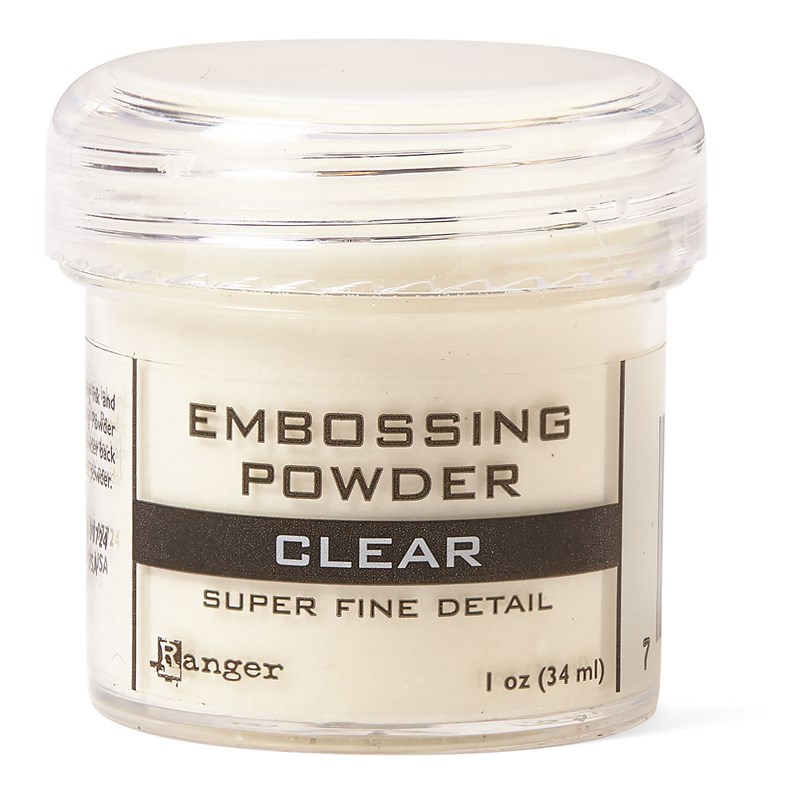
Clear Super Fine Embossing PowderDual-tip Permanent Glue Pen
Glue Dots® Ultra-thin DotsMake It from Your Heart™ Volume 4