Showing posts with label Gold. Show all posts

Sunday, December 15, 2019

Season to Sparkle


Join us in our monthly Technique Blog Hop during the Season to Sparkle! Go from blog to blog by following the links to see all the shiny art we have to share...


You've arrived from
Alyson Mayo's blog. If you get lost, Rudolph will light the way (or you can find a list on Melissa's blog).


This theme was hard for me because it's more along the creativity line, which is NOT my forte! At first, I wanted to use EVERY sparkly, shiny, glittery product we have; but I was able to refrain myself.


I looked at some of our fabulous How To books then I went to the CTMH Cricut Collections. Now that ALL of them are available to purchase, I had thousands of image choices!  So, which collection claims this image? One of the limited edition Christmas selections? No. A card from Artfully Sent? Nope. It's actually a page from Artbooking!!


I selected our White Glitter Paper for this layer. If you haven't tried it, there's no problem cutting it on the Cricut. I leave my machine on cardstock and use a standard mat, but not a new mat; it's like White Daisy Cardstock. If you cut a lot of glitter paper at one time, clean out your blade housing. I noticed this a few years ago when I cut pages of snowflakes.


I must have been making too many shaker cards lately because that's what I saw with the "window" in this image. I hid the holes in the page with the contour tool in design space. I had planned to mount the image on a card base so I sized it 1/4" smaller. But I didn't like the fancy corners on top of the square corners. I looked for a card shape to coordinate but didn't find one, so, I made one! I resized the image to card front size, duplicated the image, hid the window contours, and welded two together.

When I was picking out the sequin colors I kept going back and forth between silver and gold. I couldn't decide on a base color with either of these and the White Glitter Paper, so I added a backing to the window with Silver Foil Paper.


My card is finished off with White & Gold Skinny Ribbon. I decided to add it after the card was assembled so I used my ribbon trick: Whenever I want to save ribbon or when I need ribbon tied about a piece of paper, I tie it around a My Acrylix block first. That gives me a firm object to work with and I can snip the loop off center if the bow isn't going to be in the middle. I suggest using a block that's about twice the size of the paper (this was actually too big, but the one I had nearby). Keep the other end attached to the roll until you're finished also helps when making bows or tying knots.
Thanks for stopping by!!
Please leave a comment before you hop to Katy Taylor's blog.

Products Used:

  • White Glitter Paper
  • Silver Foil Paper
  • Sapphire Cardstock
  • 3-D Foam tape
  • Gold Sequins
  • White and Gold Skinny Ribbon
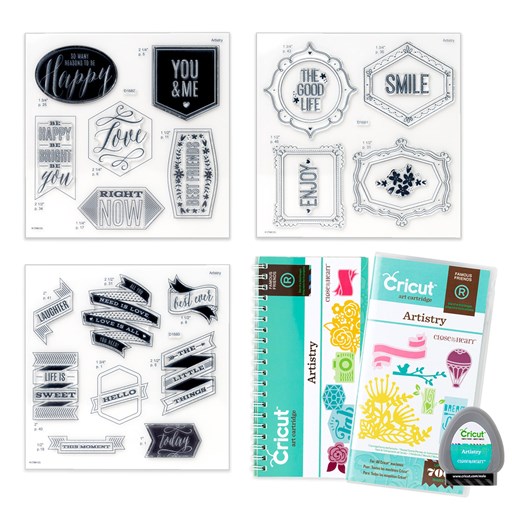
  • CTMH Artbooking Collection
  • Anti-Static Pouch
  • acetate or similar


Thursday, August 15, 2019

Sparkle & Shine Technique Blog Hop

If you've arrive from Darlys' blog, you're in the right place! If you've become dazed by all the shiny things, Melissa has a list of all the participants this month.

The calendar may say August but crafters know it really the beginning of the holiday season! Last month my card class theme was Christmas and CTMH gave us a Christmas in July Flash Sale.

But, just like embossing, why do we save the Sparkle and Shine for only once a year?? 

My friends and I often show each other our latest creation and ask, "What does this need?" Sometimes there is a missing element but other times, just changing an element can make a big difference.  Adding a little bling can take your artwork up a notch. Let Me Show You How...


This is a perfectly lovely card. There is nothing wrong with it. 
The Gold Embellishing Thread already adds a little something.


Here is the same card design. I added a little more Shine with the Gold Sequins. I also embossed the sentiment and hearts.


 Then I went for all Sparkle. I replace the cardstock with Sugarplum Glitter paper. On the sentiment and hearts I highlighted them with Shimmer Brushes.


Shimmer Brushes are a great way to add a little more to your project. They are available in a variety of colors, not expensive, and easy to use.


On this sticker from True Love Complements, I accented the diamond with Clear Shimmer Brush.


For the rings on the cut-apart sheet from the paper pack, I also used the Gold Shimmer Brush on the rings.


The Mint Shimmer Brush was perfect to embellishing the glasses of champagne!


For the flowers, I completely covered the pink one with Sugarplum, but only accented the grey shading on the white daisy with the Clear Shimmer.


What is your favorite use for the Shimmer Brush?
Which version of my card do you prefer?
You can post your answer below before following the glitter trail to see what Rebecca has to share.

Colors featured: Sugarplum, Sapphire, Ballerina. Other products used:
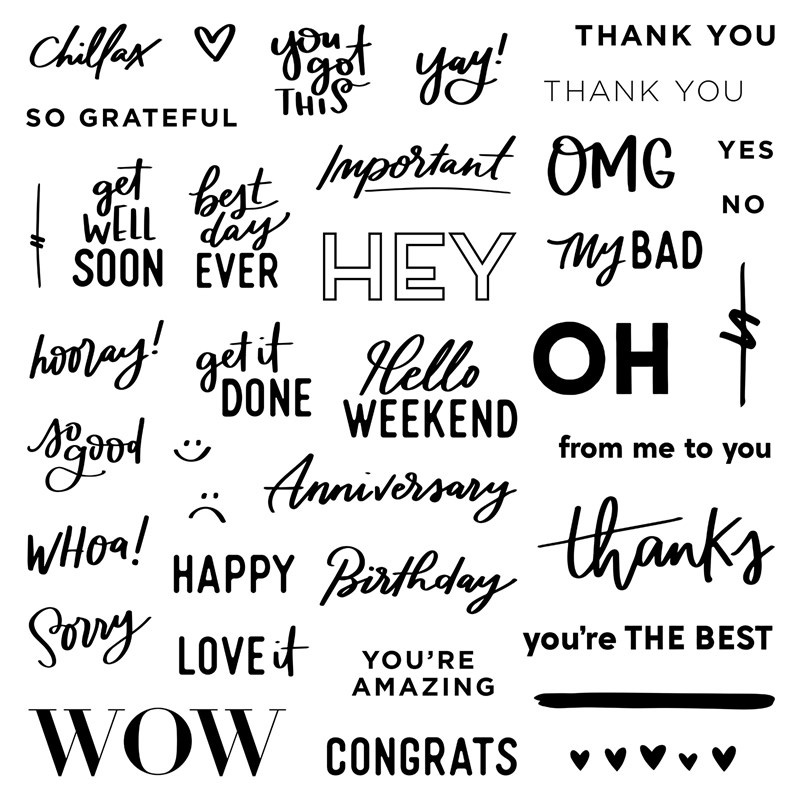
S1908: From Me to You, set of 38Z3298
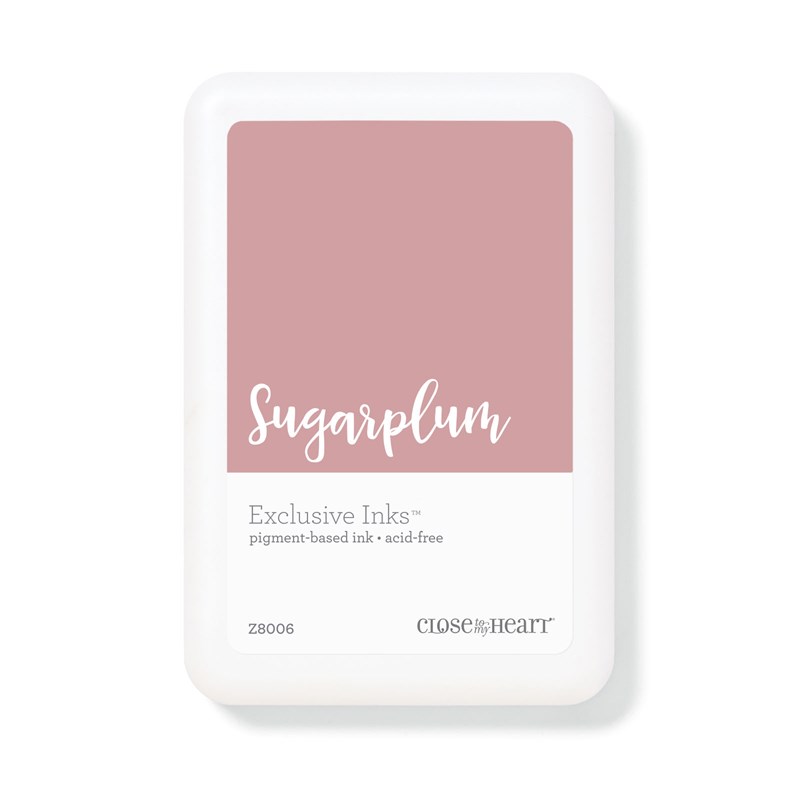
Sapphire Exclusive Inksâ„¢ Stamp PadSugarplum Exclusive Inksâ„¢ Pigment Pad
VersaMarkâ„¢ Ink PadAnti-static Pouch
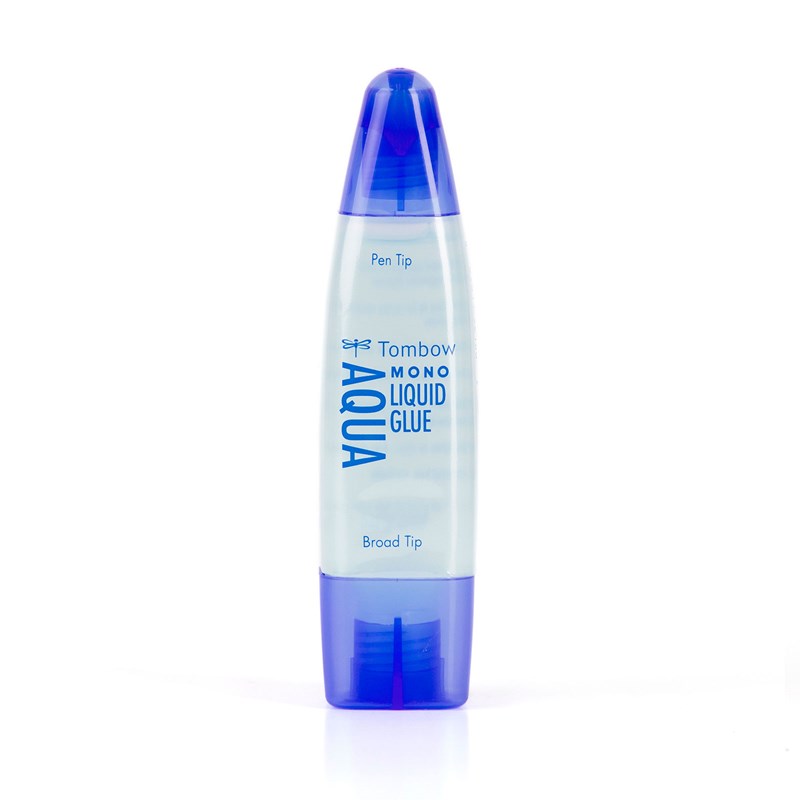
Clear Super Fine Embossing PowderDual-tip Permanent Glue Pen
Glue Dots® Ultra-thin DotsMake It from Your Heart™ Volume 4


Saturday, March 17, 2018

Happy St. Patrick's Day!!

I did get my St. Patrick's Day cards made before the holiday, and mailed, but they won't be arriving on time. Fortunately, my family doesn't have high expectations, LOL. I found this design on Pinterest. An easy way to make a shamrock is to put several heart shapes together.


Almost everything on this card is retired. I've been wanting to do something with the All About the Golds Fundamentals overlay sheets from the clearance sale. I ended up using the Limeade Washi Tape also on clearance. The heart stamp is from Family is Forever, S1409. This set works with our Artiste Cricut Collection. Maybe next year I will try the same design with the heart from the Artbooking Collection. To make the green shamrock I went to Cricut Design Space, enlarged the heart shape and welded four together. The colors on the card are Topiary and Pear.

Here's a version with a stamped border. The sentiment is from the Sending Smiles stamp set, part of the Flower Market Cricut Collection.


The overlays have a film on the back (silver) side. I removed it after I cut the piece. I don't know that it would matter if you took it off first. I believe is is there for manufacturing purposes. The gold is actually on the front (gold) side. If you have trouble grabbing the plastic, use your paper piercer. I cut the overlay with my Fiskars Paper Trimmer.


I cut the front of my card base 1.5" from the top fold, and another 1.5" from the bottom. The overlay piece is 2" x 5.5". I attached the overlay piece to the bottom card base piece first. That made it easy to line up this piece on three sides with the card base when attaching to the front.

Here's how the front of the card looks on the inside. You could cover the seam with B&T, washi, ribbon, etc. I like the see-thru affect so I didn't cover them.

When I design or adapt a card design, I often try different variations trying to get everything "just right." I made six cards and there are four different designs. Which one do you like the best?


The green on the other cards is current: Willow Exclusive Inks and cardstock, the Willow watercolor wash paper is from Adventure Fundamental Paper Pack. I used the Thin Cuts - Scallop Border instead of the washi tape. This month we are having a sale on Thin Cuts including many retired sets.

Congratulations to the giveway winner...Linda!!


Friday, September 1, 2017

Seasonal Expressions is HERE!!

I'm still excited about the new Annual Inspirations and now it's time for a new issue of Expressions! This one is our Seasonal Expressions as we head into the holidays.


Here are a few of the new products:

ADORABLE Cat and Bats for Halloween and more. Love the origami style images!! There's also matching images in the Cardmaking and Scrapbooking stamp sets (thin cuts available for both). I think the paper also coordinates nicely with the Constellations stamp set from Annual Inspirations. Are you doing an Eclipse layout??


The autumn paper is Falling for You and I can't wait to play with the Cardmaking stamp set...lined leaves designs...Should I emboss, color or maybe BOTH! The Scrapbooking set is similar but with flowers and stems. This paper is also great with the new  Gone Hunting stamp set as well as the September Stamp of the Month Feel So Blessed.


Remember, the next four months of SOTM are always in the back of the Expressions catalog. They are D size sets available for regular price $17.95 or only $5 with a qualifying $50 purchase. Stamp of the Month sets are only available for one month!


The traditional holiday collection is Beary Christmas. The cards below are from the Workshops Your Way Merriest Wishes Cardmaking Kit. Each of the Creative Collections has a card kit. Sometimes they go along with the theme of the paper, sometimes they do not. Remember, each of the cardstock weight Background and Texture Duos are double sided so you have two choices of patterns/colors. Even our single color cardstock now gives you choices: regular shade on one side, a lighter shade on the other.


Here's my favorite new stamp set, The Thought That Counts. So glad we need more tags this year. And I think I know some people on my gift list that may be getting some! 


Have you noticed that the metals are back in the color and design world? Silver and Gold is a great collection to use on its own or as neutrals to mix with colors. Note that the paper pack has 14 sheets as the gold foil designs are single sided.


 Be sure to check out the Events and Specials page for info on Classes and other new products.