Showing posts with label Anti-Static Pouch. Show all posts

Friday, May 15, 2020

Stencil It! CTMH Technique Blog Hop


Welcome to our May blog hop! You've come from the blog of Hayley Dyer. To continue the Hop, just follow the links from blog to blog until you get back to where you started. If you get lost, you can find a list of participants on Melissa's page. This month we are highlighting stencils. That may sound old school to you, but I'm sure you'll find new ideas for personalizing your art work! Before showing you my project, I have an announcement to make:

...And the award for the Official stamp set of the Pacific Northwest 
goes to..."Make a Splash!!" {Applause}

Make a Splash
I knew I needed this set as soon as I saw it in the May/June catalog. It is pretty adorable even if you don't live in a rain forest. Don't you think?? Plus the sayings are appropriate for almost anyone, anytime and I was surprised by how perfect the set is for these crazy pandemic times. If you need more rainy weather stamps, check out "When Skies Are Grey."

I wanted to showcase this set and was also inspired by the Blue Skies cardstock, part of May's special for National Scrapbooking Month. I love the UV coating and wanted to make something similar. 

Can you see the raindrops? 
This card pattern is #7 in Make It From Your Heart Volume #4. I always think rain boots are yellow; too much Curious George as a child I guess! I paired it with one of the papers in Stitched Together. Do you see anything stitched or quilt-related in this design? That's what I love about our B&T Duos and paper packs: any pattern that highly themed is usually universal on the reverse side. Can you see the upside-down raindrops on this paper?? I think they're supposed to be flower petals. That would be something else I could do with my stencil!


Here's how I made my card:  The rain drops are from an overlay image in the Cricut Artistry Collection.  In Design Space, I added the image then used [Contour] to hide the outer line of the image; this gave me just drops to cut out. I used [Duplicate] to copy the image, next I used [Contour] again to "remove" a few drops at the bottom. I made a copy of the edited image with [Duplicate]. Now I had three images, the original, and two edited copies. I lined these up by utilizing the [Position] coordinates. Finally, all three images were "connected" with [Attach] to cut as one item. When cutting the stencil, I made sure to move it over so that there was at least 1" around all three sides when finished.

Before putting the raindrops on my paper, I stamped the two sentiments in Sapphire ink. I rubbed the Anti-Static pouch over this piece and then tacked it in place on a piece of desk pad paper. The stencil was positioned over the cardstock. The drops are fewer near the bottom so I kept away from "splash" but went right over the sentiment at the top. I used the VersaMark pad right on the stencil. After removing the stencil, I used clear embossing powder and embossed as usual. 


Note: Your stencil will be sticky from the VersaMark ink. I first tried cleaning it off with Spritz and a rag.That wasn't bad, but I had so many layers from experimenting, it wasn't quite enough. On my way to the sink, I passed some baby wipes. The wipes worked, at least with my pre-wash. I wouldn't use the chemical disinfectant wipes everyone is hoarding right now, but alcohol-free, mild baby wipes may work. Otherwise, go with my first thought, clean it with a mild soap and water.


To make the puddle at the bottom, I grabbed my Mint Shimmer Brush.


Inside, is another boot, this time stamped with Mink instead of Black so the image is defined, but not overwhelming the sentiment. These could have been stamped right on the card base, but I wanted the flowers to be a separate piece so that the marker didn't show through the back. 


Now, I would never have fussy cut these flowers out of the paper. Even cutting out the boots would have been pushing it, and those are a much simpler design. But with Thin Cuts, it was no problem! It's one of the main reason I bought this stamp set, I can use these flowers for many other projects. The flowers are colored with Tri-Blend markers. 
*I've since decided that Green Turquoise (light end) is a better match for Mint. I'd call the Dull Green colors > Green Apple (light), Sage, and New England Ivy (light). For Sweet Leaf I like Citrus Green (light end). Those of us in the matchy-matchy OCD world can get really freaked out about color matching! But, the truth is, on these tiny images, none of which are even shown with the patterned paper, it doesn't matter (too much!).

Please leave some love in the comment section below!


Thanks for stopping by!! Next, head over to see what fabulous-ness Maz Wood has for you this month.

🛒🛒Ready to shop? Head to my website to find the products I used:

  • Make a Splash stamp set (available with or without Thin Cuts)
  • Stitched Together paper pack (available with or without sticker sheet)
  • Lemonade Cardstock
  • White Daisy Cardstock
  • Mint Shimmer Brush
  • Intense Black ink pad
  • Sapphire ink pad
  • Mink ink pad
  • Tri-Blend markers (see colors above)
  • VersaMark pad
  • Anti-Static Pouch
  • Clear Super Fine embossing powder
  • Heat Tool
  • Stencil Sheets
  • Card Bases and Envelopes value pack
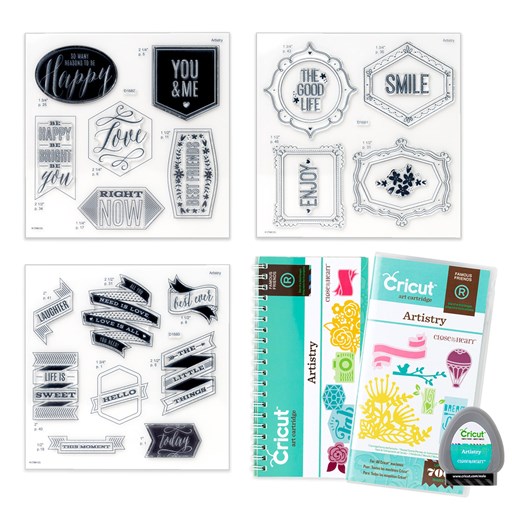
  • Artistry Cricut Collection (use this link to shop Cricut)


Sunday, December 15, 2019

Season to Sparkle


Join us in our monthly Technique Blog Hop during the Season to Sparkle! Go from blog to blog by following the links to see all the shiny art we have to share...


You've arrived from
Alyson Mayo's blog. If you get lost, Rudolph will light the way (or you can find a list on Melissa's blog).


This theme was hard for me because it's more along the creativity line, which is NOT my forte! At first, I wanted to use EVERY sparkly, shiny, glittery product we have; but I was able to refrain myself.


I looked at some of our fabulous How To books then I went to the CTMH Cricut Collections. Now that ALL of them are available to purchase, I had thousands of image choices!  So, which collection claims this image? One of the limited edition Christmas selections? No. A card from Artfully Sent? Nope. It's actually a page from Artbooking!!


I selected our White Glitter Paper for this layer. If you haven't tried it, there's no problem cutting it on the Cricut. I leave my machine on cardstock and use a standard mat, but not a new mat; it's like White Daisy Cardstock. If you cut a lot of glitter paper at one time, clean out your blade housing. I noticed this a few years ago when I cut pages of snowflakes.


I must have been making too many shaker cards lately because that's what I saw with the "window" in this image. I hid the holes in the page with the contour tool in design space. I had planned to mount the image on a card base so I sized it 1/4" smaller. But I didn't like the fancy corners on top of the square corners. I looked for a card shape to coordinate but didn't find one, so, I made one! I resized the image to card front size, duplicated the image, hid the window contours, and welded two together.

When I was picking out the sequin colors I kept going back and forth between silver and gold. I couldn't decide on a base color with either of these and the White Glitter Paper, so I added a backing to the window with Silver Foil Paper.


My card is finished off with White & Gold Skinny Ribbon. I decided to add it after the card was assembled so I used my ribbon trick: Whenever I want to save ribbon or when I need ribbon tied about a piece of paper, I tie it around a My Acrylix block first. That gives me a firm object to work with and I can snip the loop off center if the bow isn't going to be in the middle. I suggest using a block that's about twice the size of the paper (this was actually too big, but the one I had nearby). Keep the other end attached to the roll until you're finished also helps when making bows or tying knots.
Thanks for stopping by!!
Please leave a comment before you hop to Katy Taylor's blog.

Products Used:

  • White Glitter Paper
  • Silver Foil Paper
  • Sapphire Cardstock
  • 3-D Foam tape
  • Gold Sequins
  • White and Gold Skinny Ribbon
  • CTMH Artbooking Collection
  • Anti-Static Pouch
  • acetate or similar


Tuesday, October 15, 2019

Back to the Basics


Sometimes, we get so obsessed with new that we forget the tried and true. This month, we're going Back to the Basics to remind ourselves that these techniques are timeless options for stamping and scrapbooking. 

If you've arrived from  Michelle's blog, you're in the right place! If you just happened to stumble in, welcome to The Scrap Buzz! My posts tend to be long, because I want to share ALL the details!

To view all the posts in this month's blog hop, follow the link in each post to the next blog until you arrive back where you started. If you get lost, or run across a broken link, you can find the complete list of participants on Melissa's blog.

Let's review RANDOM STAMPING. This technique can be used to create your own Background & Texture (B&T) paper. It is my favorite for scrapbooking sports because I can customize my paper every year using a few stamps and the team colors.

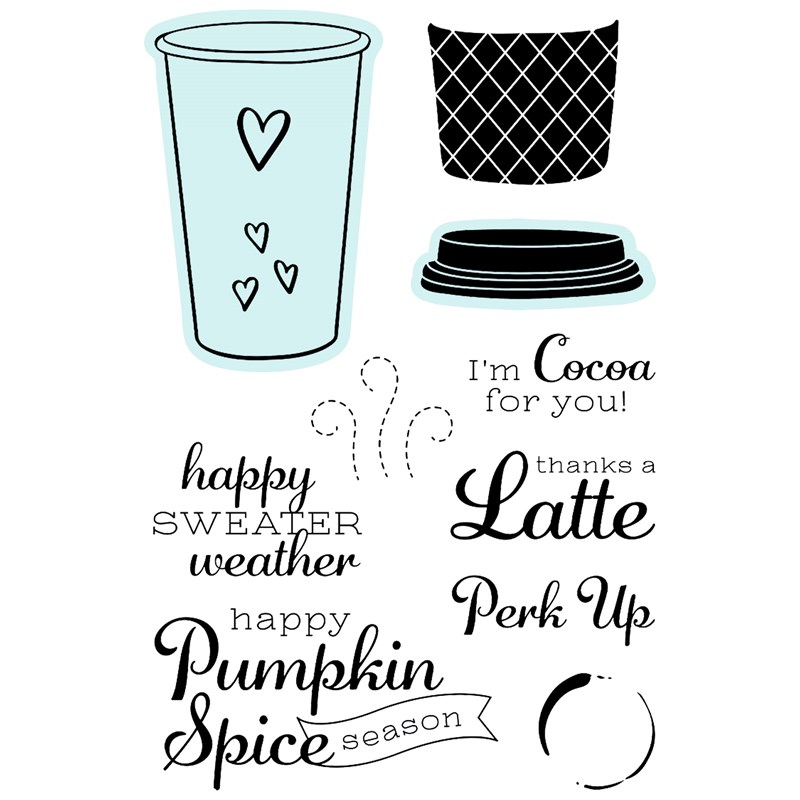
To begin, stamp two images, then stamp a third to form the points of a triangle. The distance between images will depends on the size of the stamp, what else you plan to add, and the size of your paper. The stamp I used was the coffee ring from the Perk Up stamp set. After making one triangle, use two of the previously stamped images and add a fourth to form another triangle. Repeat until you are happy with the result and/or fill up the paper. If you are using more than one stamp image, start with the largest then go back and fill in using the smallest image last.

For my project, I chose the Hawthorn paper pack and selected ink colors to match. Did you know these colors are listed 
  1. on my website with the paper
  2.  in the catalog at the beginning of each paper suite
  3. on the last page of the recipe booklet
  4. on the zip strip for each B&T paper.
I found some pumpkin spice lip balm and had to make a fun card with Perk Up! I selected the leave/green print paper to be the base of the card. On the front, I added a piece of Sage cardstock,   light side up, to coordinate with the Hawthorn paper. My first ink color was Toffee. Notice that I didn't make the triangles very even. The point of random stamping this paper was to add some texture. I focused on two opposite corners and made one "heavier" than the other. Next, I used our new Paprika ink. At this point I needed more so I stamped another round with the same color. These three images form their own triangle but they also form triangles with the three previous Paprika images. Notice too that I am overlapping my images this time. Sometime this works, it depends on the stamps.

Finally, I stamped two sets of rings in Pebble; you can barely see them. To keep the upper corner heavier, I stamped more of the rings on the paper. In the bottom corner, the more of the ring images go off the paper. Always stamp some of the images off the edge or your paper when random stamping. It helps the visual and prevents a trapped or framed look.

After stamping a few sets of ring images, I laid the elements of my card in place to see if more rings were needed.

Tip: When using the Versamat as your stamping surface, either lay a piece of scrap paper over it, or clean if off when your done. I love that the Stamp Shammy is perfect for this!! If you don't wipe the ink off the Versamat, you may lay something down and pick up the ink where you don't want it. 


Here is my finished card! Our B&T duos are just perfect for cards like this when both sides of the paper show. On the outside of the card, I used the October Stamp of the Month, Autumn Air. "Fall" is embossed with Princess Gold powder. "Is in the air" is stamped in Charcoal ink. I made sure to leave room in this area while I was random stamping. The inside sentiment from Perk Up is stamped in Paprika.


This fancy fold design came from a make up sample I received. I copied the design and adjusted the size. I did several of these a few years ago, measuring and scoring each card individually. This time, I made a Cricut DS file. If you would like to try this card, you can use my file for FREE!


Next, hop over to see what Amy has created.


If you're ready to shop, and don't have a consultant, you can find these products on my website.

Note: There are thin cuts for Perk Up, but they are currently unavailable. More are scheduled to arrive soon!

Products Used:
Perk Up stamp set & thin cuts
Autumn Air - October SOTM
Pebble
Charcoal
Versamat
All-Purpose Mat
Stamp Shammy
Princess Gold embossing powder
Anti-Static Pouch
Versamark ink
Heat Tool


Thursday, August 15, 2019

Sparkle & Shine Technique Blog Hop

If you've arrive from Darlys' blog, you're in the right place! If you've become dazed by all the shiny things, Melissa has a list of all the participants this month.

The calendar may say August but crafters know it really the beginning of the holiday season! Last month my card class theme was Christmas and CTMH gave us a Christmas in July Flash Sale.

But, just like embossing, why do we save the Sparkle and Shine for only once a year?? 

My friends and I often show each other our latest creation and ask, "What does this need?" Sometimes there is a missing element but other times, just changing an element can make a big difference.  Adding a little bling can take your artwork up a notch. Let Me Show You How...


This is a perfectly lovely card. There is nothing wrong with it. 
The Gold Embellishing Thread already adds a little something.


Here is the same card design. I added a little more Shine with the Gold Sequins. I also embossed the sentiment and hearts.


 Then I went for all Sparkle. I replace the cardstock with Sugarplum Glitter paper. On the sentiment and hearts I highlighted them with Shimmer Brushes.


Shimmer Brushes are a great way to add a little more to your project. They are available in a variety of colors, not expensive, and easy to use.


On this sticker from True Love Complements, I accented the diamond with Clear Shimmer Brush.


For the rings on the cut-apart sheet from the paper pack, I also used the Gold Shimmer Brush on the rings.


The Mint Shimmer Brush was perfect to embellishing the glasses of champagne!


For the flowers, I completely covered the pink one with Sugarplum, but only accented the grey shading on the white daisy with the Clear Shimmer.


What is your favorite use for the Shimmer Brush?
Which version of my card do you prefer?
You can post your answer below before following the glitter trail to see what Rebecca has to share.

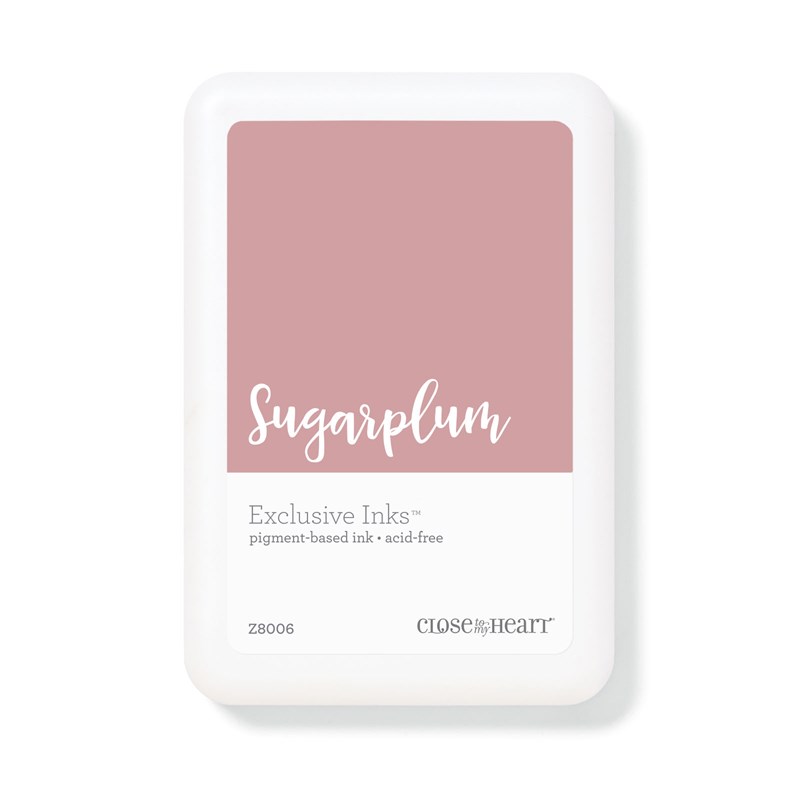
Colors featured: Sugarplum, Sapphire, Ballerina. Other products used:
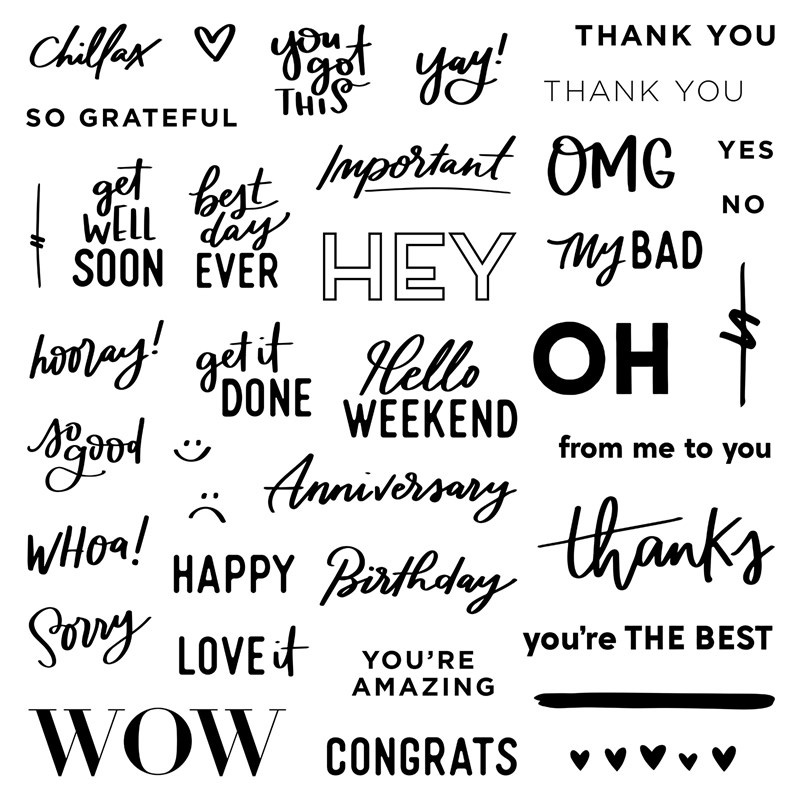
S1908: From Me to You, set of 38Z3298
Sapphire Exclusive Inksâ„¢ Stamp PadSugarplum Exclusive Inksâ„¢ Pigment Pad
VersaMarkâ„¢ Ink PadAnti-static Pouch
Clear Super Fine Embossing PowderDual-tip Permanent Glue Pen
Glue Dots® Ultra-thin DotsMake It from Your Heart™ Volume 4


Monday, July 15, 2019

Mix It Up!


Do you love our Mix In paper packs?! These collections are designed to MIX IN and coordinate with every other paper collection in the current Idea Book, or use on their own! Right now, the Mix-In colors are Ballerina pink plus neutral black, white, and grays. One of the things about our B&T (background and texture) Duos that I like is, if one side doesn't suit your taste, turn it over!

If you've arrived from Daryls' page, you're right on track. If you're starting here, follow the link at the bottom to "hop" the next blogger's page. Proceed until you complete the circle and arrive back on my page again.


As life often is, mine is busy and somewhat extra complicated right now, so I'm "cheating" by showing you a piece of artwork I CASEd (Copy And Steal Everything) from the Seasonal Expressions 2 Idea Book. But that's OK, that is the purpose of an IDEA book. But, did you know, the recipes for all the beautiful pieces are available to you?

On your consultant's website site, go to "More" and select "View Catalog." Then scroll down to the pdf link for Recipes. All the ingredients are listed including colors, stamp(s) and tools used. If Cricut shapes were used, the recipe will list the collection name, size, shapes name and DS code.

 Here's the recipe for this card:

PAGE 82
4¼" x 5½" Happy Birthday Card (Horizontal)

A1228 My Acrylix® Special Day Duo Stamps
X9005 Mix-in Paper Packet
X6028 Black Cardstock
X5988 Peach Cardstock
X6018 Raspberry Cardstock
X6022 Smoothie Cardstock
Z891 VersaMark™ Ink Pad
Z4057 Craft On Rubber Shapes
Z4213 Silver Embellishing Thread
Z2068 Ranger™ White Super Fine Emb Powder
Z4220 Anti-static Pouch
Z4252 Heat Tool
1772 Glue Dots® Ultra-thin Dots

Guess what? The ONLY piece of Mix-Ins I have used to date is the one featured in the catalog. Could I just substitute that one piece? Me?? No! Any normal person? Yes!!


So if I was going to substitute for the B&T I might as well substitute the cardstock too. The colors used in the sample seemed a rather odd combination. By looking at the CTMH Color Wheel, I was able to determine the "formula:" one color from one section, skip a section, two colors from the following section. I'm sure there is a fancy name for this arrangement, comment below if you know it!!
My colors are:

Emerald from the green section
(skip the Blue-Green section)
Carolina and Bluebird from the Blue Section

Oh look, I picked blue and green!! Totally unplanned but probably done unconsciously; they're my favorite color combo!!

I had to decide which color was going to go where. That's hard!! When I was cutting the B&T from Mix-Ins, I made it a 4" x 5.5" rectangle. I know that I can get three piece across a 12" piece, and as long as I was making one card, I might as well make three. Then I cut each of the other three shapes from each of the other three colors and mixed them. This pattern is similar to, or a variation of , #16 from Make It From The Heart, Volume 4 (MIFTHV4#16).

Instead of the Craft On Rubber Shapes, I used Black & White dots. (On one card I used some retired Emerald dots from the Cats & Bats collection.

Have you ever heat embossed? Has it been forever?? We all love this technique so I'm not sure why we don't use it more often. If it really has been a while, check out what Close To My Heart offers now including a new heat tool, tinsel embossing power, and an anti-static pouch.

The pouch is great for keeping stray embossing power off your paper so that it only sticks to the ink. I also use it on the back of stickers when using them as die cuts. The powder inside the bag sticks to the sticker adhesive so it's not sticky. It's much faster, simpler and easier than using baby powder. The pouch also tames your lose sequins. Just throw it in the bag when they're new and give it a little shake. Remove the pouch and your sequins will stop doing their Mexican Jumping Beam imitation.

Another item I think is a must have for heat embossing is the All-Purpose Mat. The large size protects your craft space. It is also double sided. The smooth, shinny side is a non-stick surface. Keep your adhesive off the back of your project! You can also use it as a palette for watercolor projects and mixing ink colors. The other side is slightly tacky, which keeps it from sliding on your work surface. If you turn this tacky side up, it keeps embossing powder for dusting everything in the craft room. You can wipe or wash it off as needed. It is also heat resistant to  240° Fahrenheit.

Making all three sentiment squares the same would have been too easy. I used three combinations so you could see the difference. The photo on the left lists the ink underneath the piece and the embossing powder color above it.


At the far right is the combination from the recipe: Ranger™ White Super Fine Embossing Powder and VersaMark™ Ink Pad. In the center is the same powder over white pigment ink. And, the far left is white pigment ink with clear embossing powder.

What is your favorite color arrangement? Which embossing combination would you use? Answer in the comment section before  hopping over and see what Melissa has to share. (She also has a list of all the participants this month.)

These are the other products used, instead of or in addition to the recipe listed above:

X5990 Carolina Cardstock
X5987 Bluebird Cardstock
X6001 Emerald Cardstock
Z2045 All Purpose Mat
Z2863 White Pigment Ink
Z2088 Clear embossing powder
9044  Make It from Your Heart Volume 4
Z3314 Black & White Dots